


以前に書いていたインストールメモは、単独の仮想マシンで Web Server を公開するためのもの。
今は、フロントエンド用の仮想マシンに Nginx で Reverse Proxy を、バックエンド用仮想マシンに Apache をそれぞれインストール、運用している。
ということで、一通りの手順をメモ。
Ubuntu のインストール
インストール自体は特に迷うことなく、途中で固定 IP を設定したり ssh を有効にしたくらいでサクッと終了。手順は次のサイトの 18.04 LTS Server と殆ど同じ。
途中の LVM の画面では、初期状態だと物理ボリュームに対して論理ボリュームが少なく設定される。
LVM を使わなくても良いし、使用する場合は後からでも拡張できる。
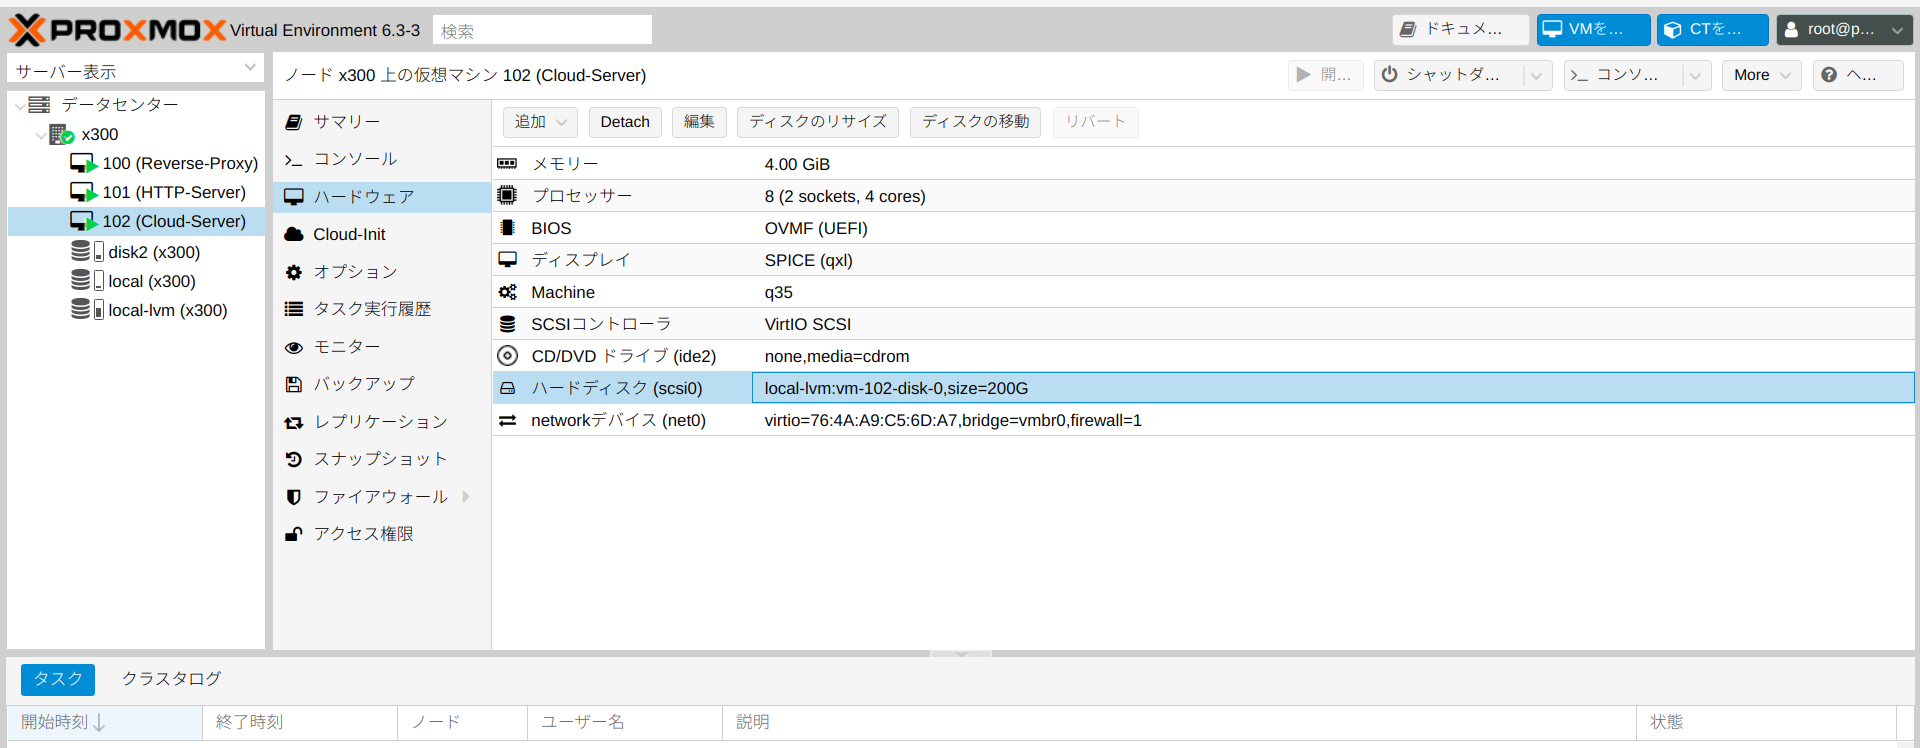
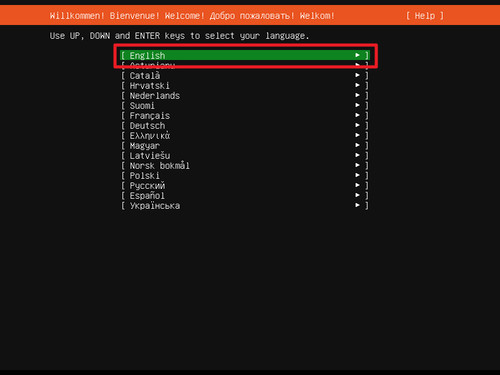
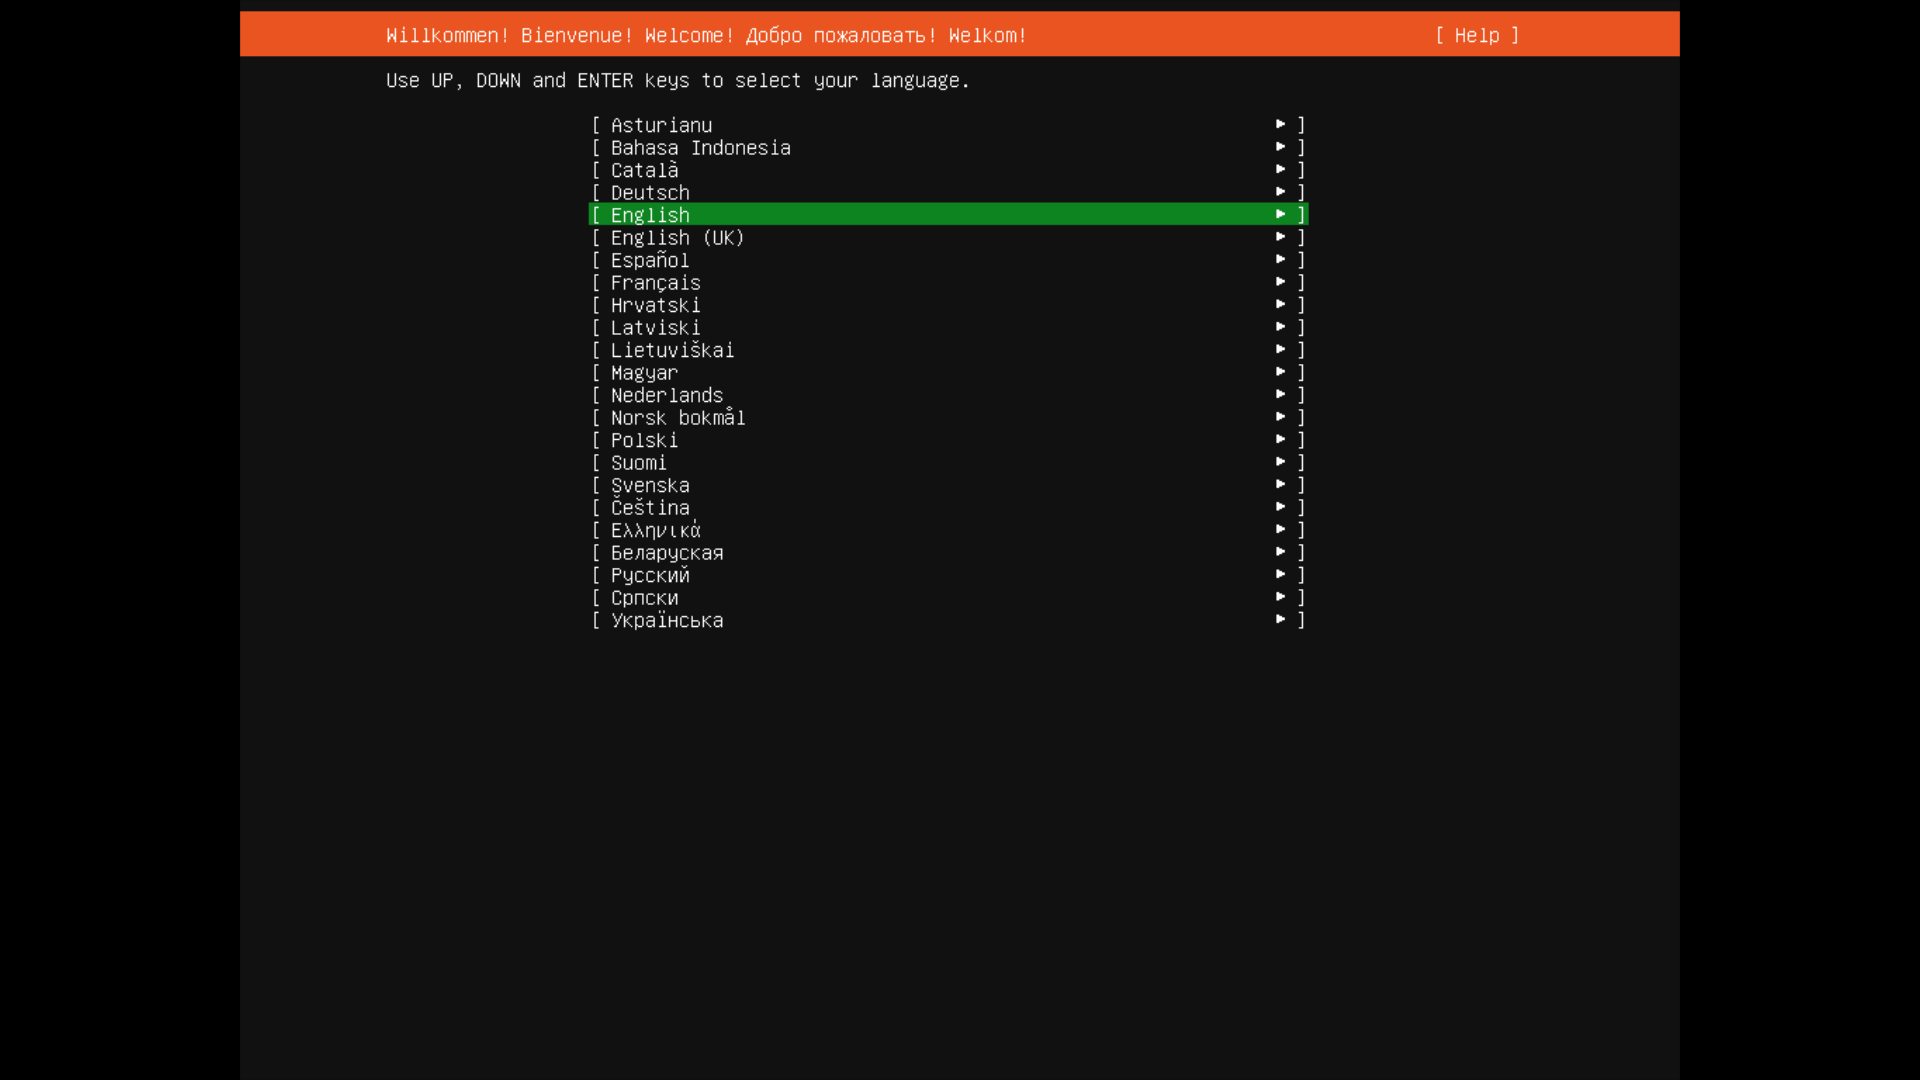
仮想マシンの起動直後の画面
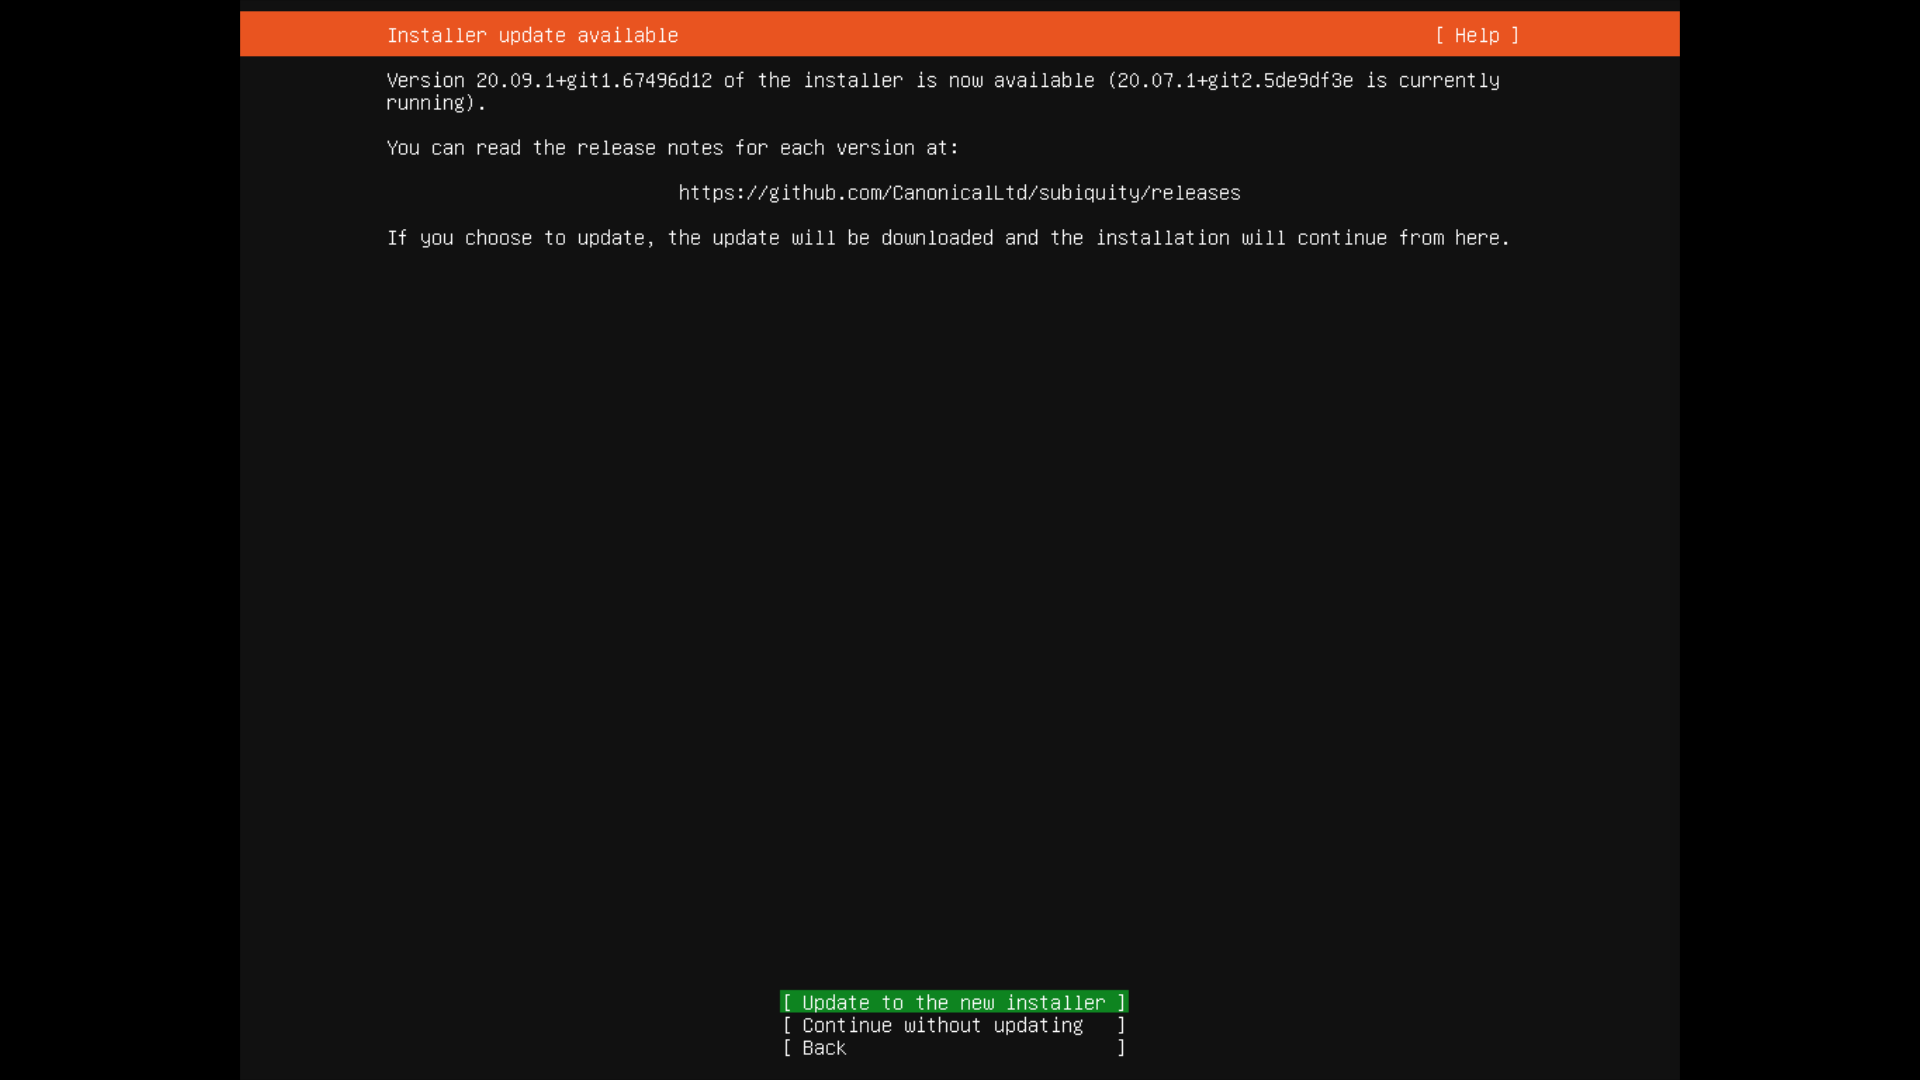
インストーラーの更新
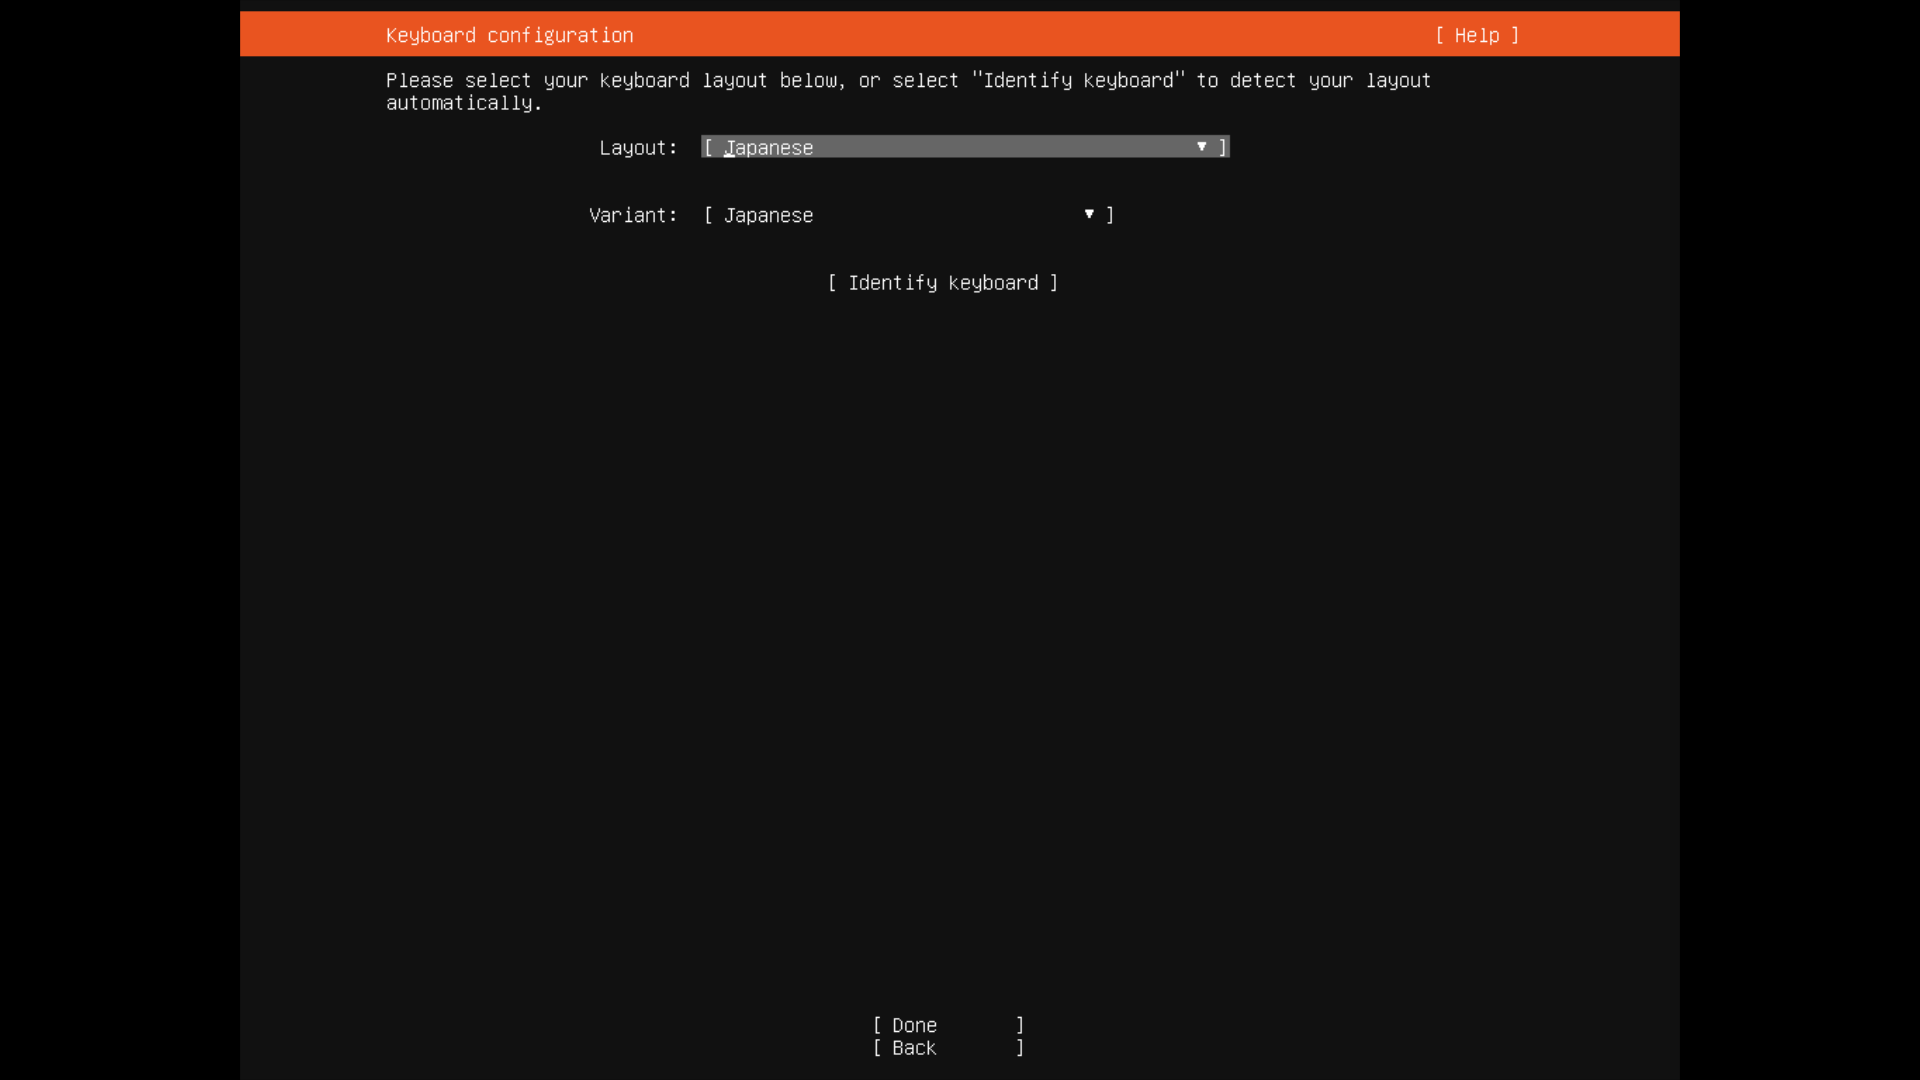
キーボードレイアウトの選択
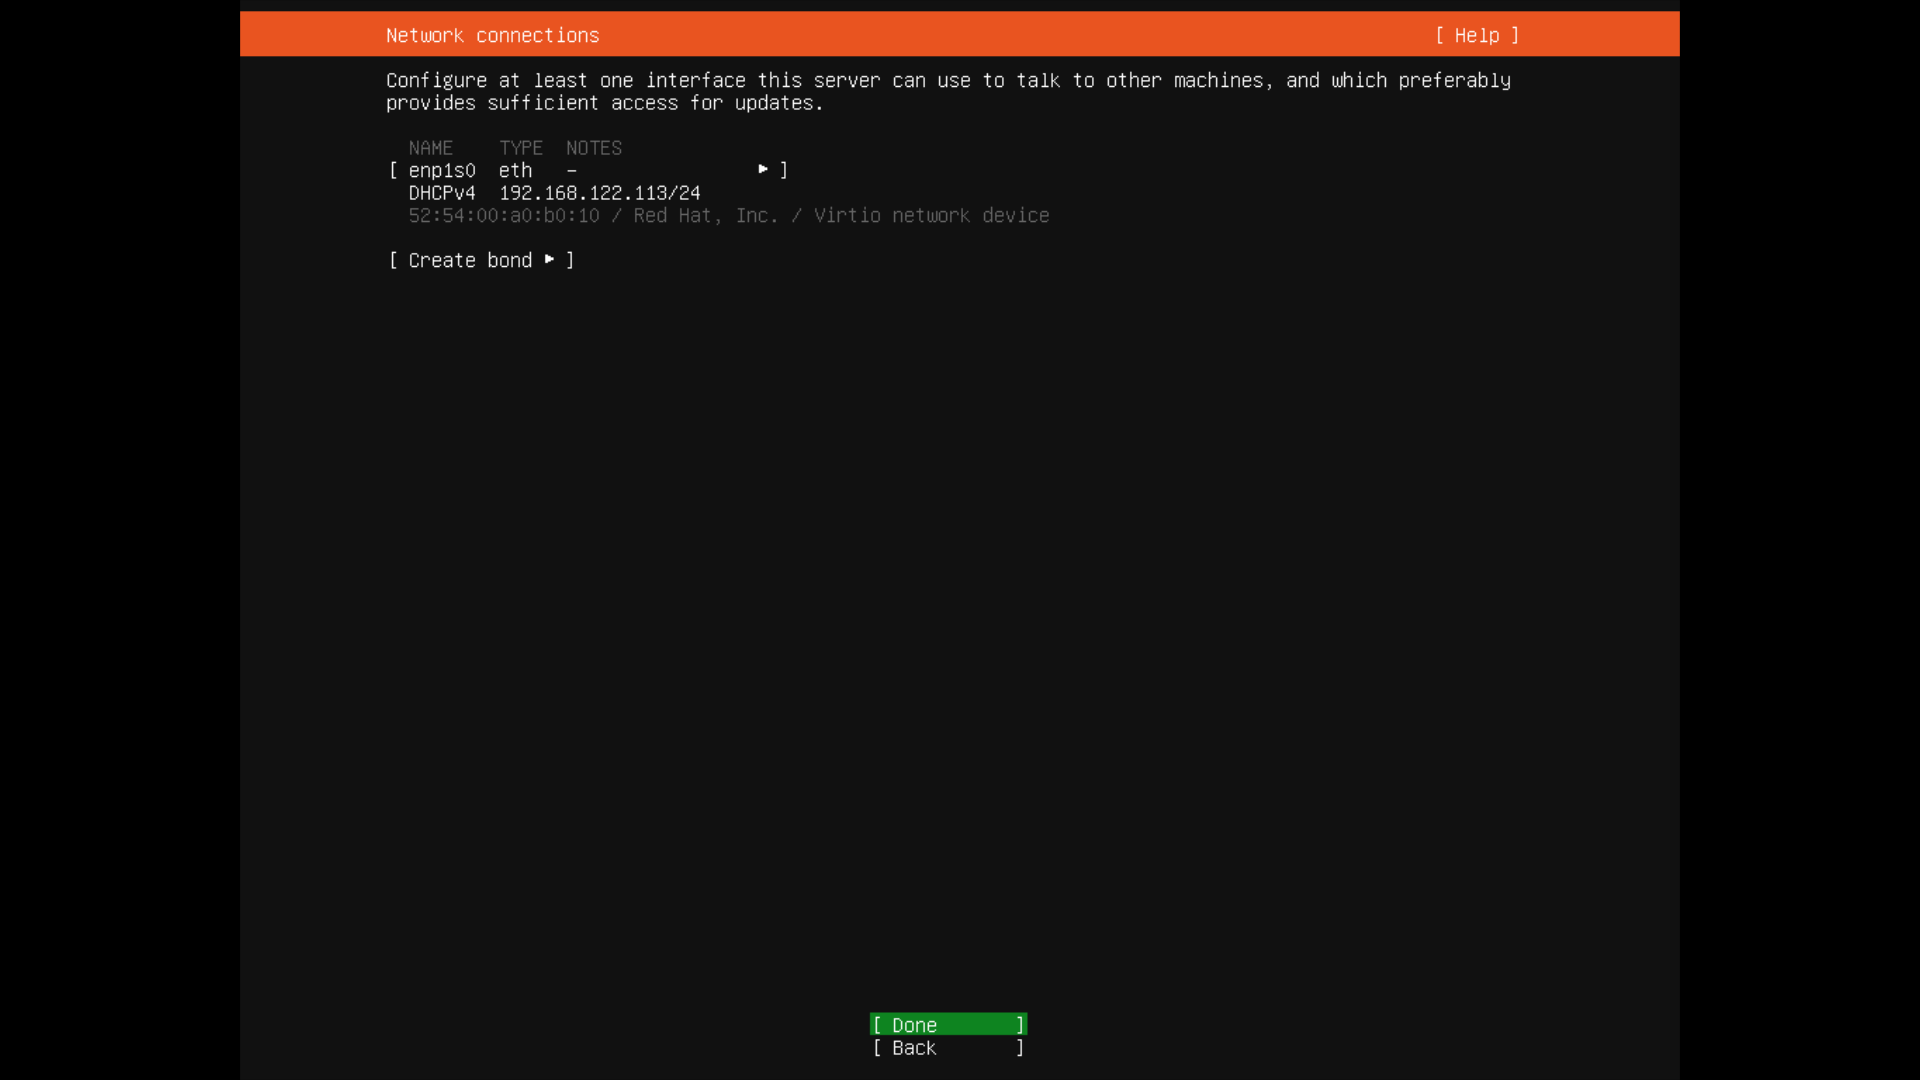
ネットワークインタ��フェースの設定
デバイスを選択して固定 IP に変更(画像は DHCP のまま)。
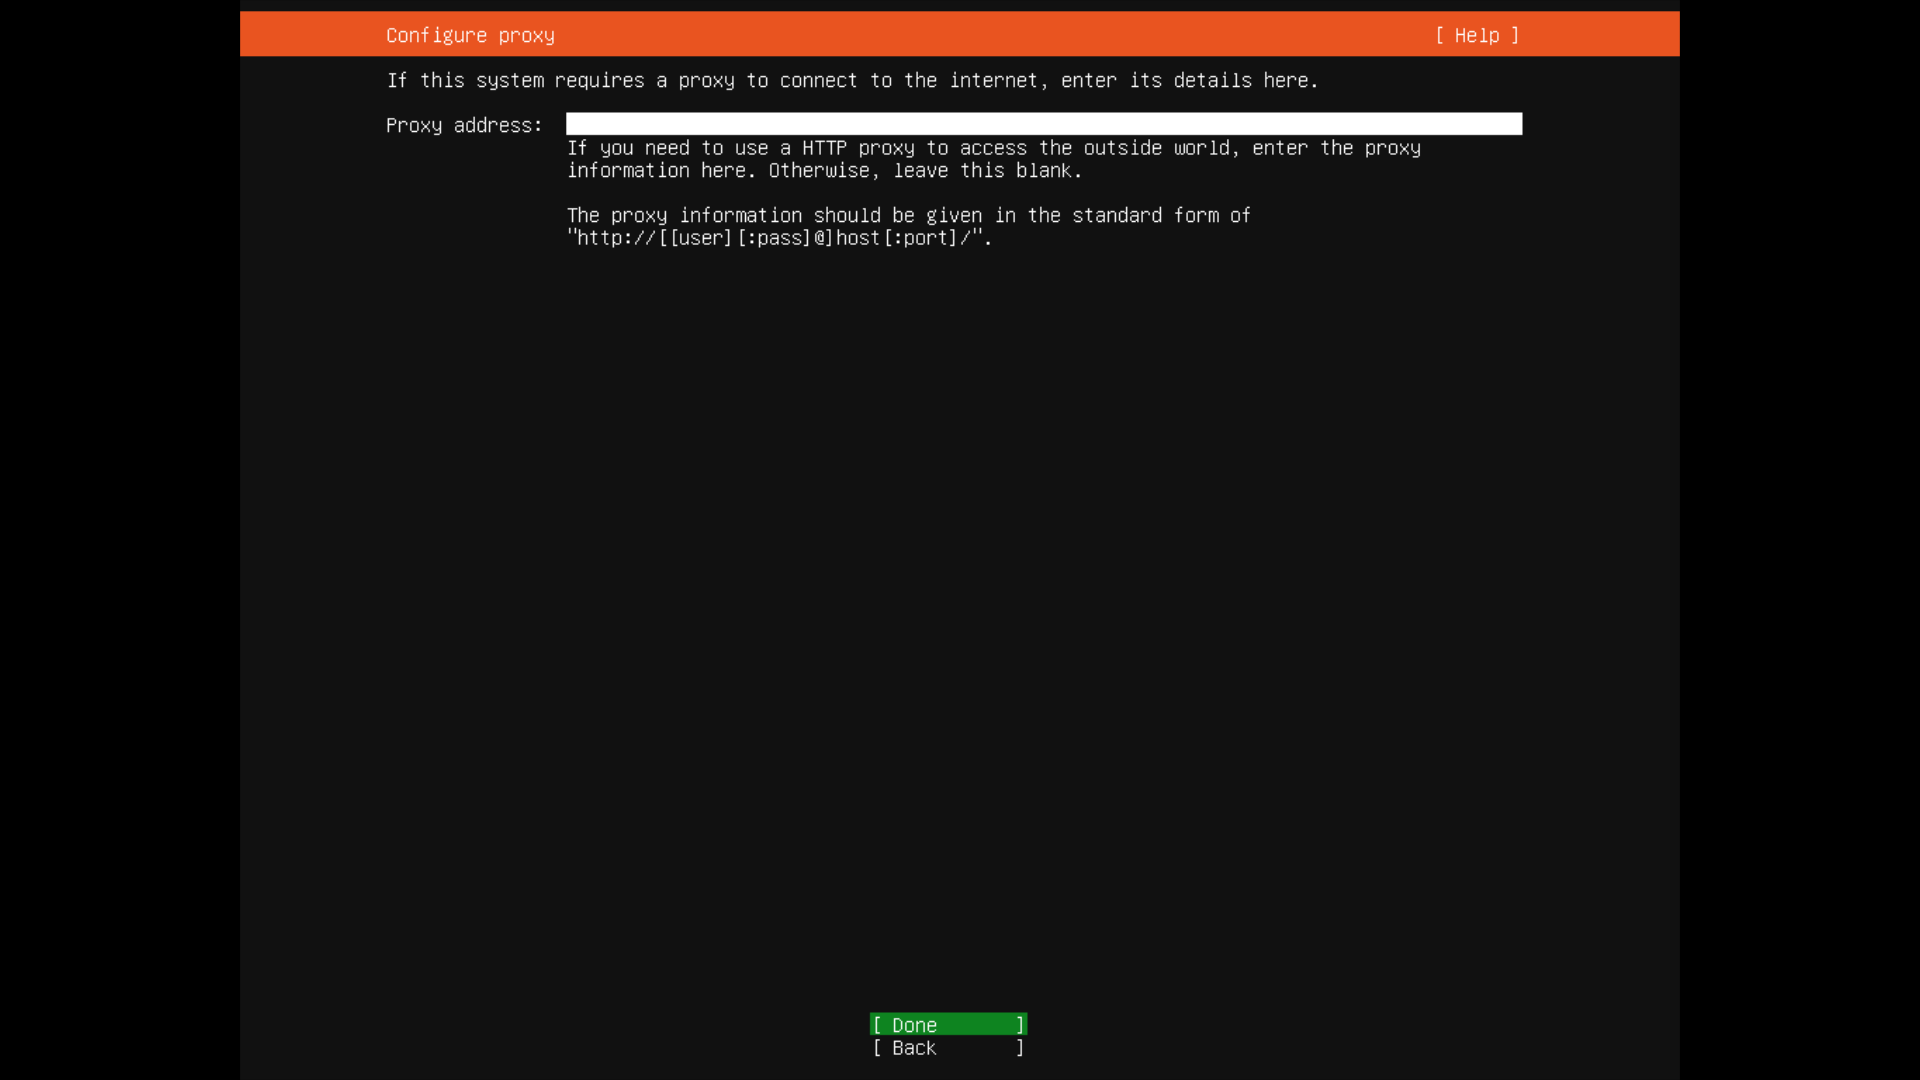
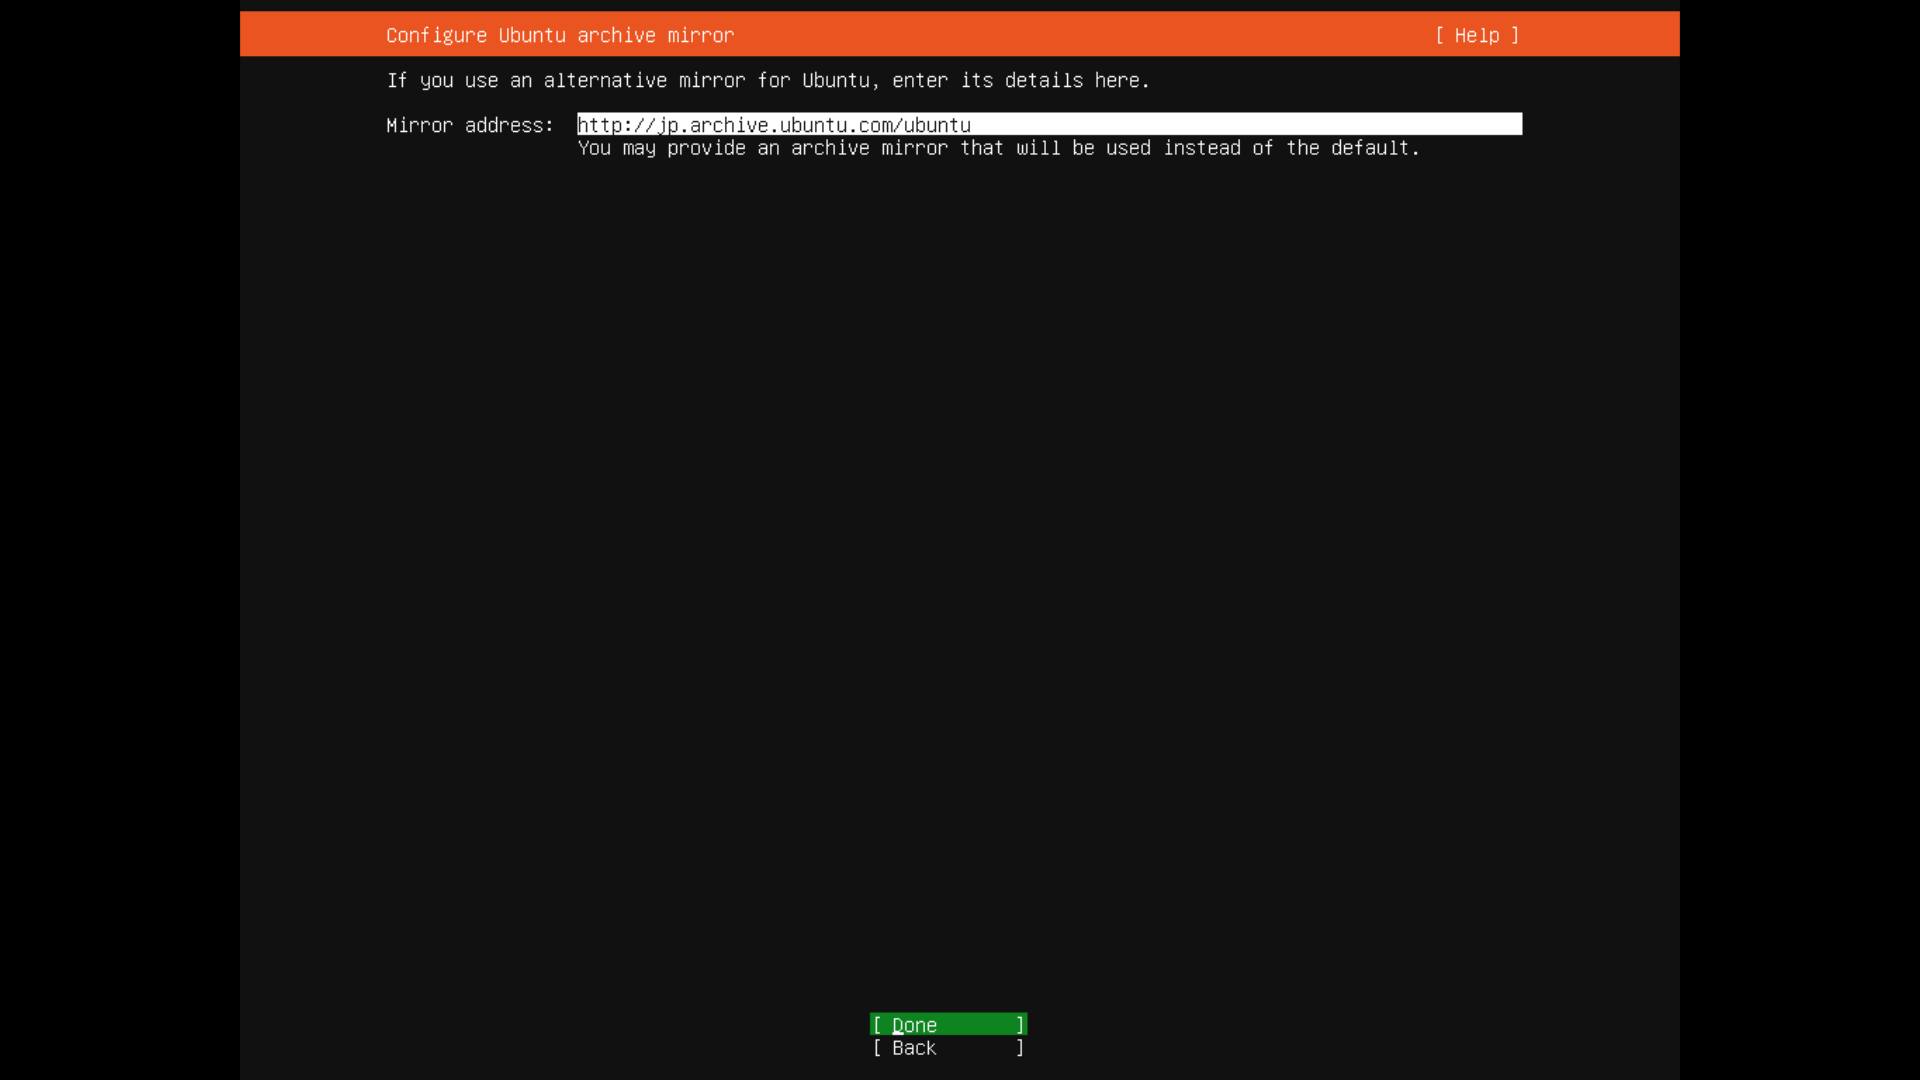
プロキシとミラーサイトの確認
ディスクの設定
初期設定は「Set up this disk as an LVM group」の選択状態になっている。LVM を使わないなら選択を解除すること。
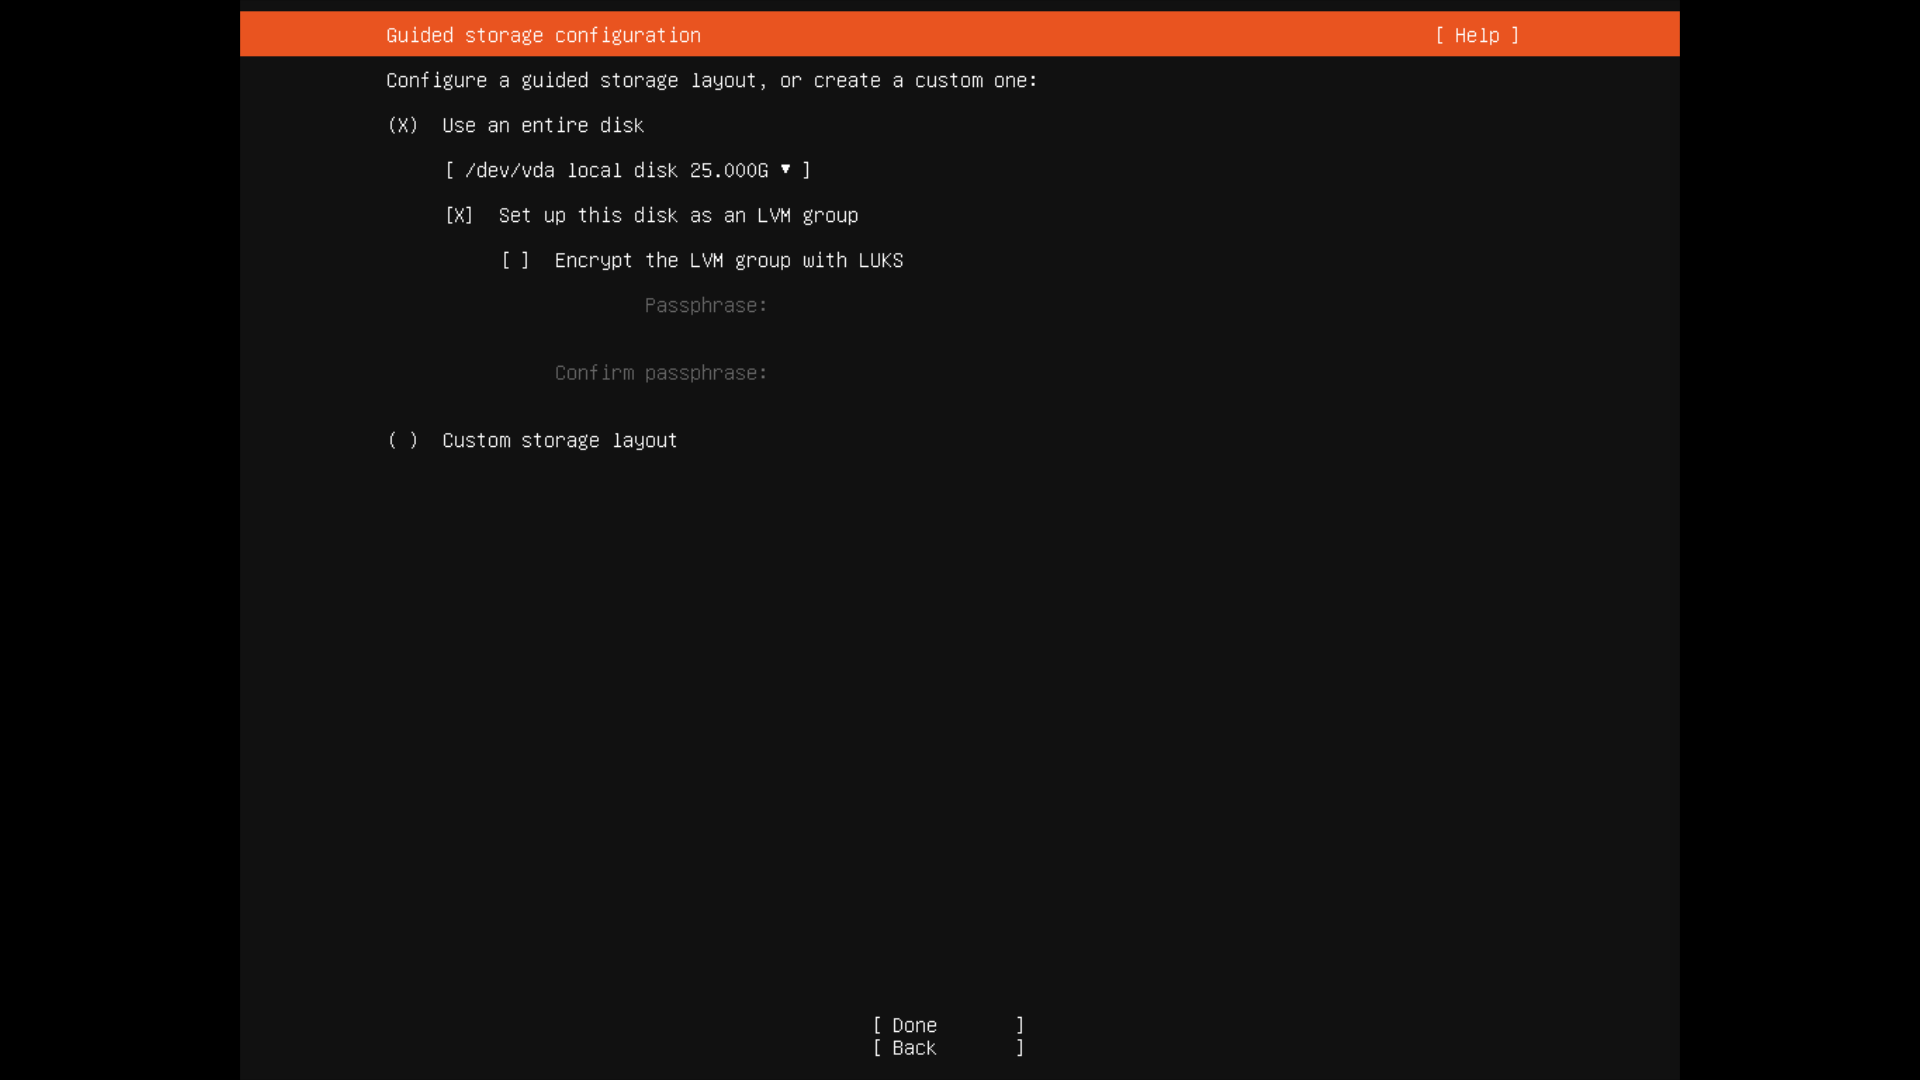
LVM の設定
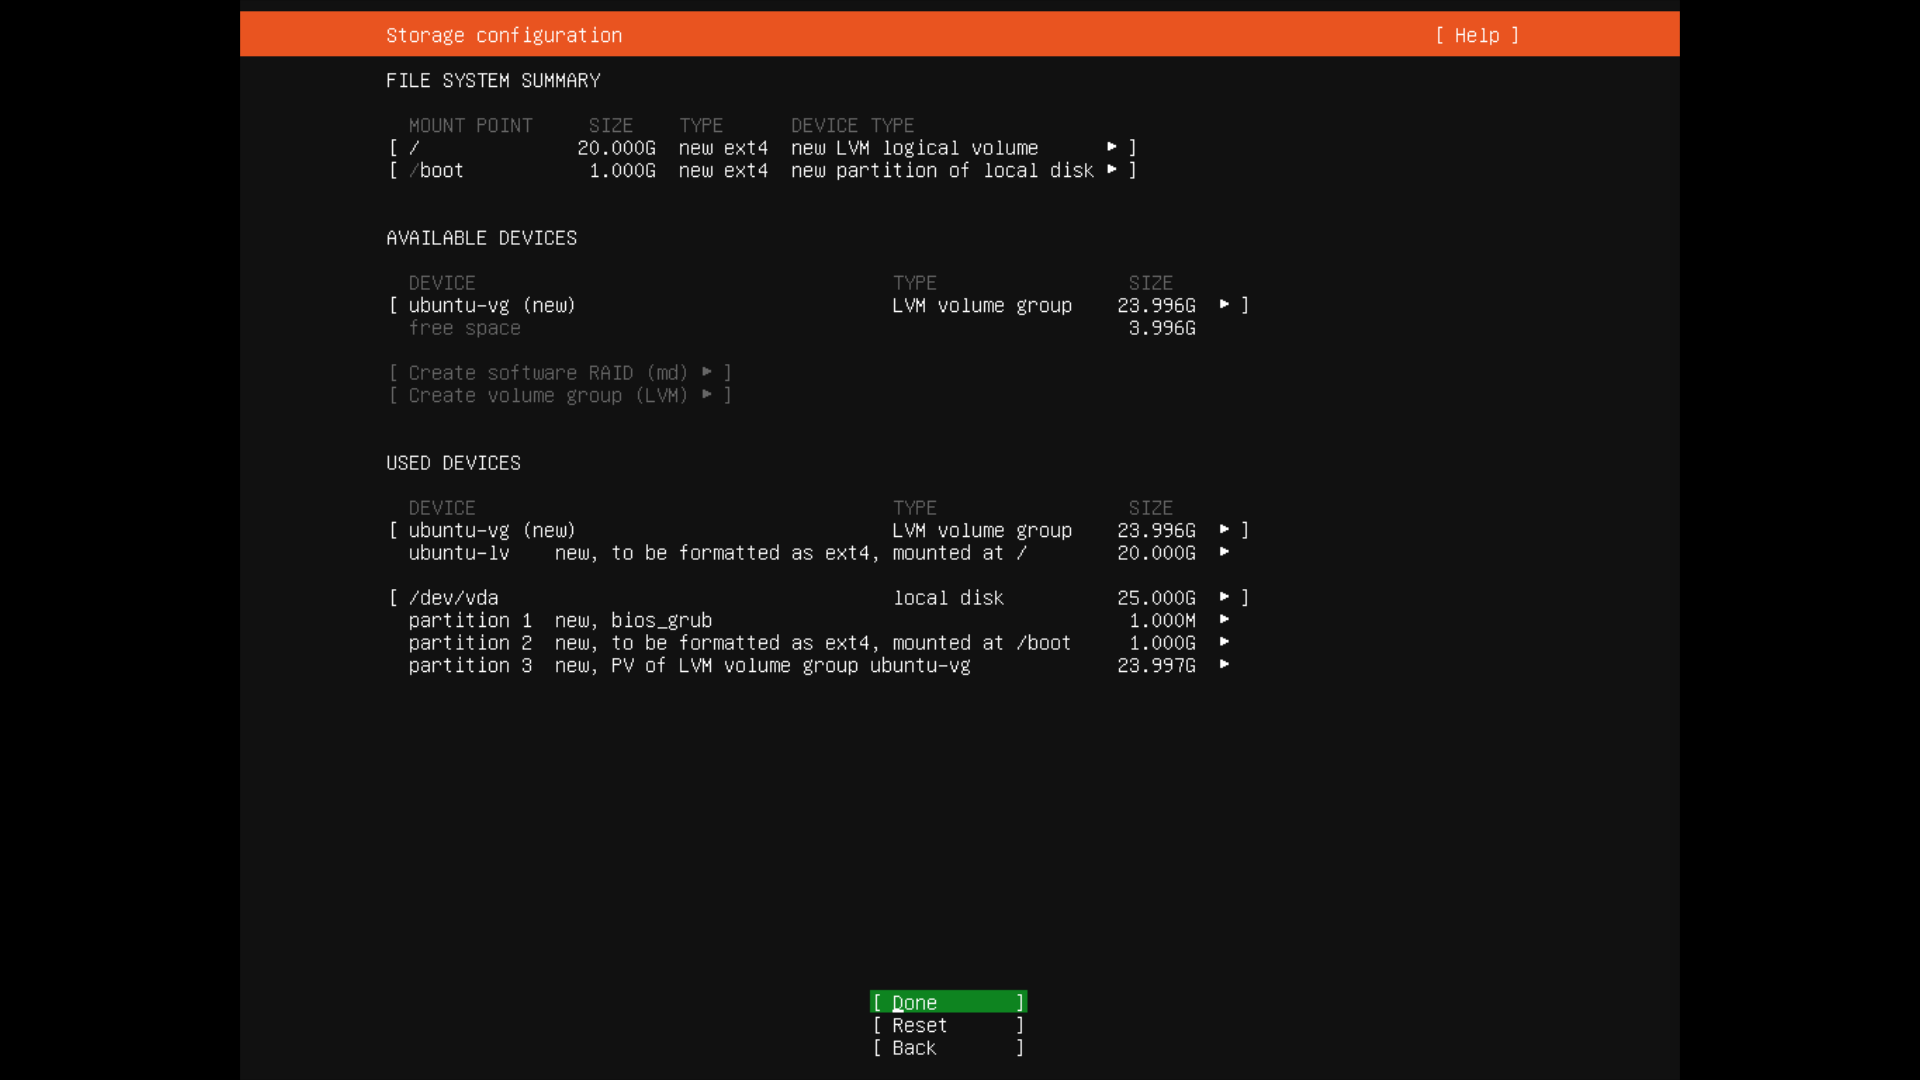
このまま進めると、ボリュームグループ 23.996Gに対して少し小さい論理ボリューム 20.000G が作成される。
あとから拡張することもできるが、ここで最大化してしまえばいい。
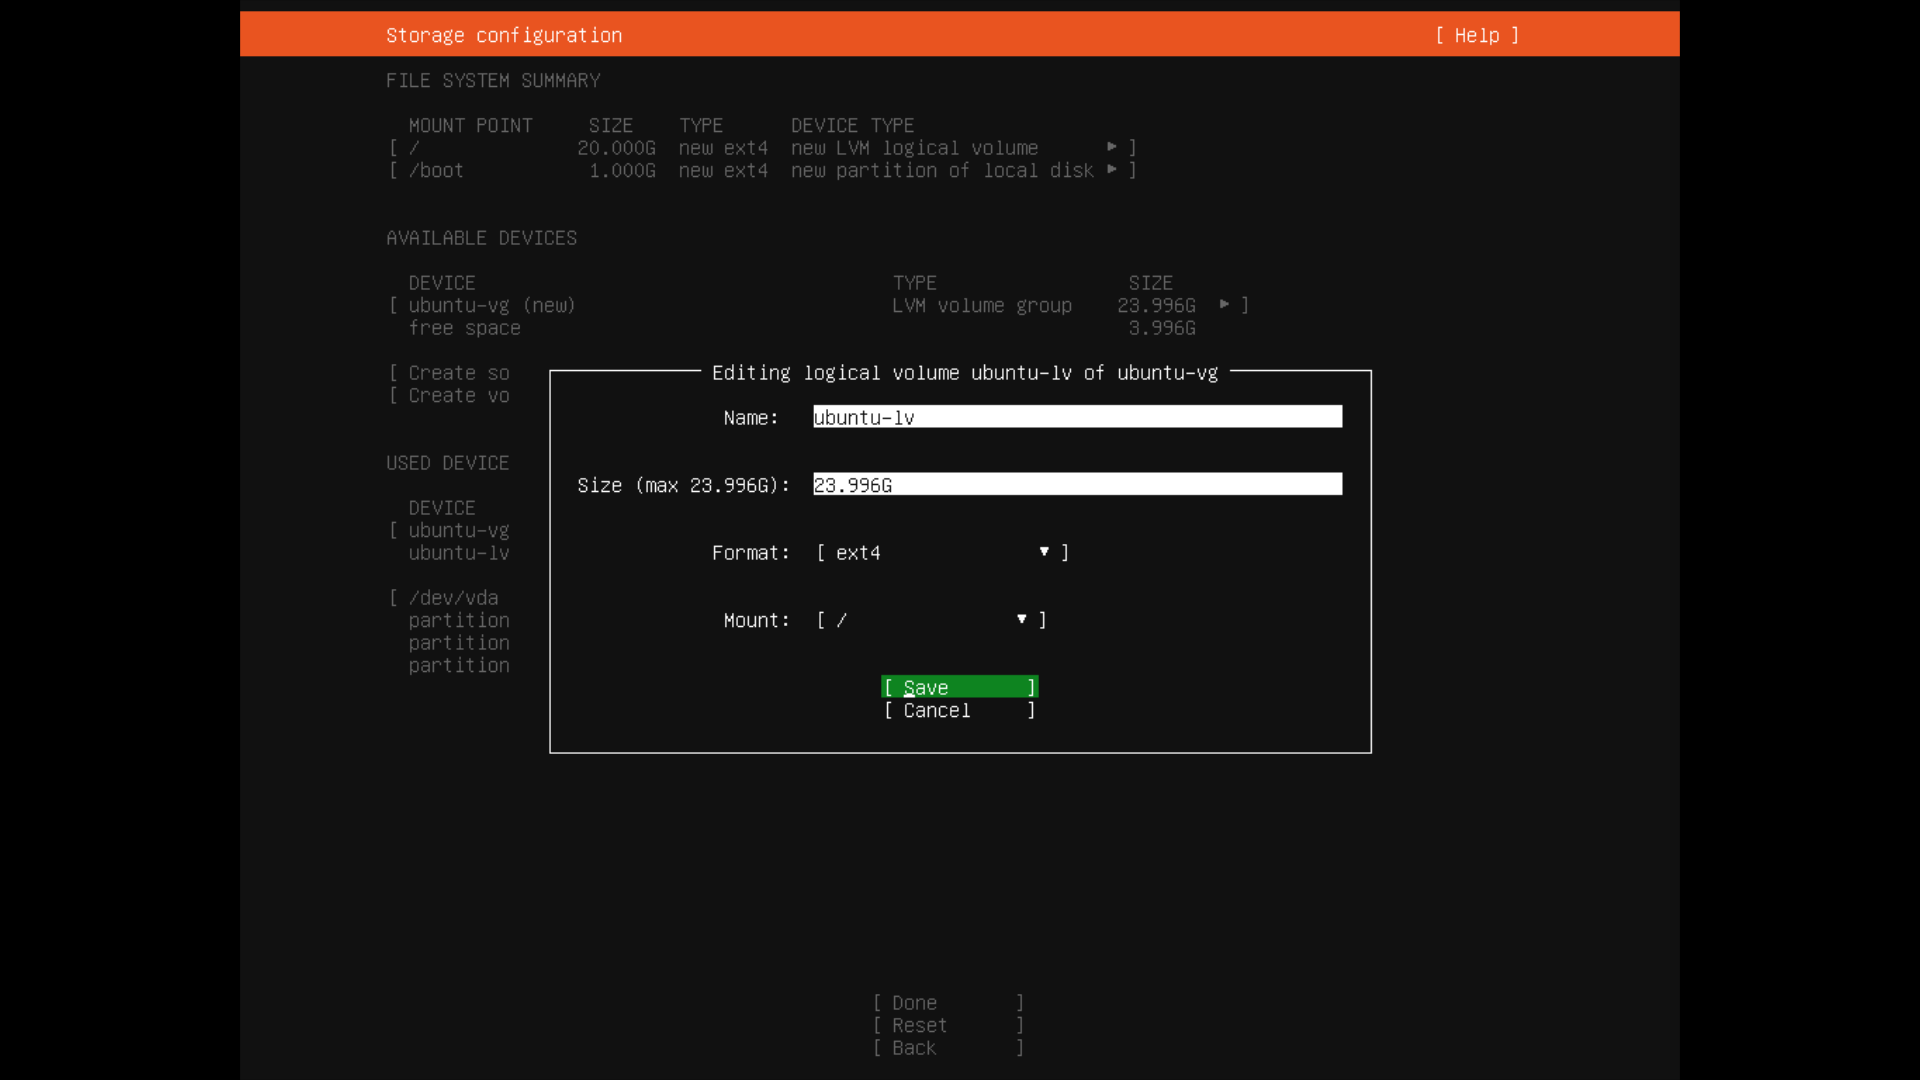
論理ボリューム最大化の様子
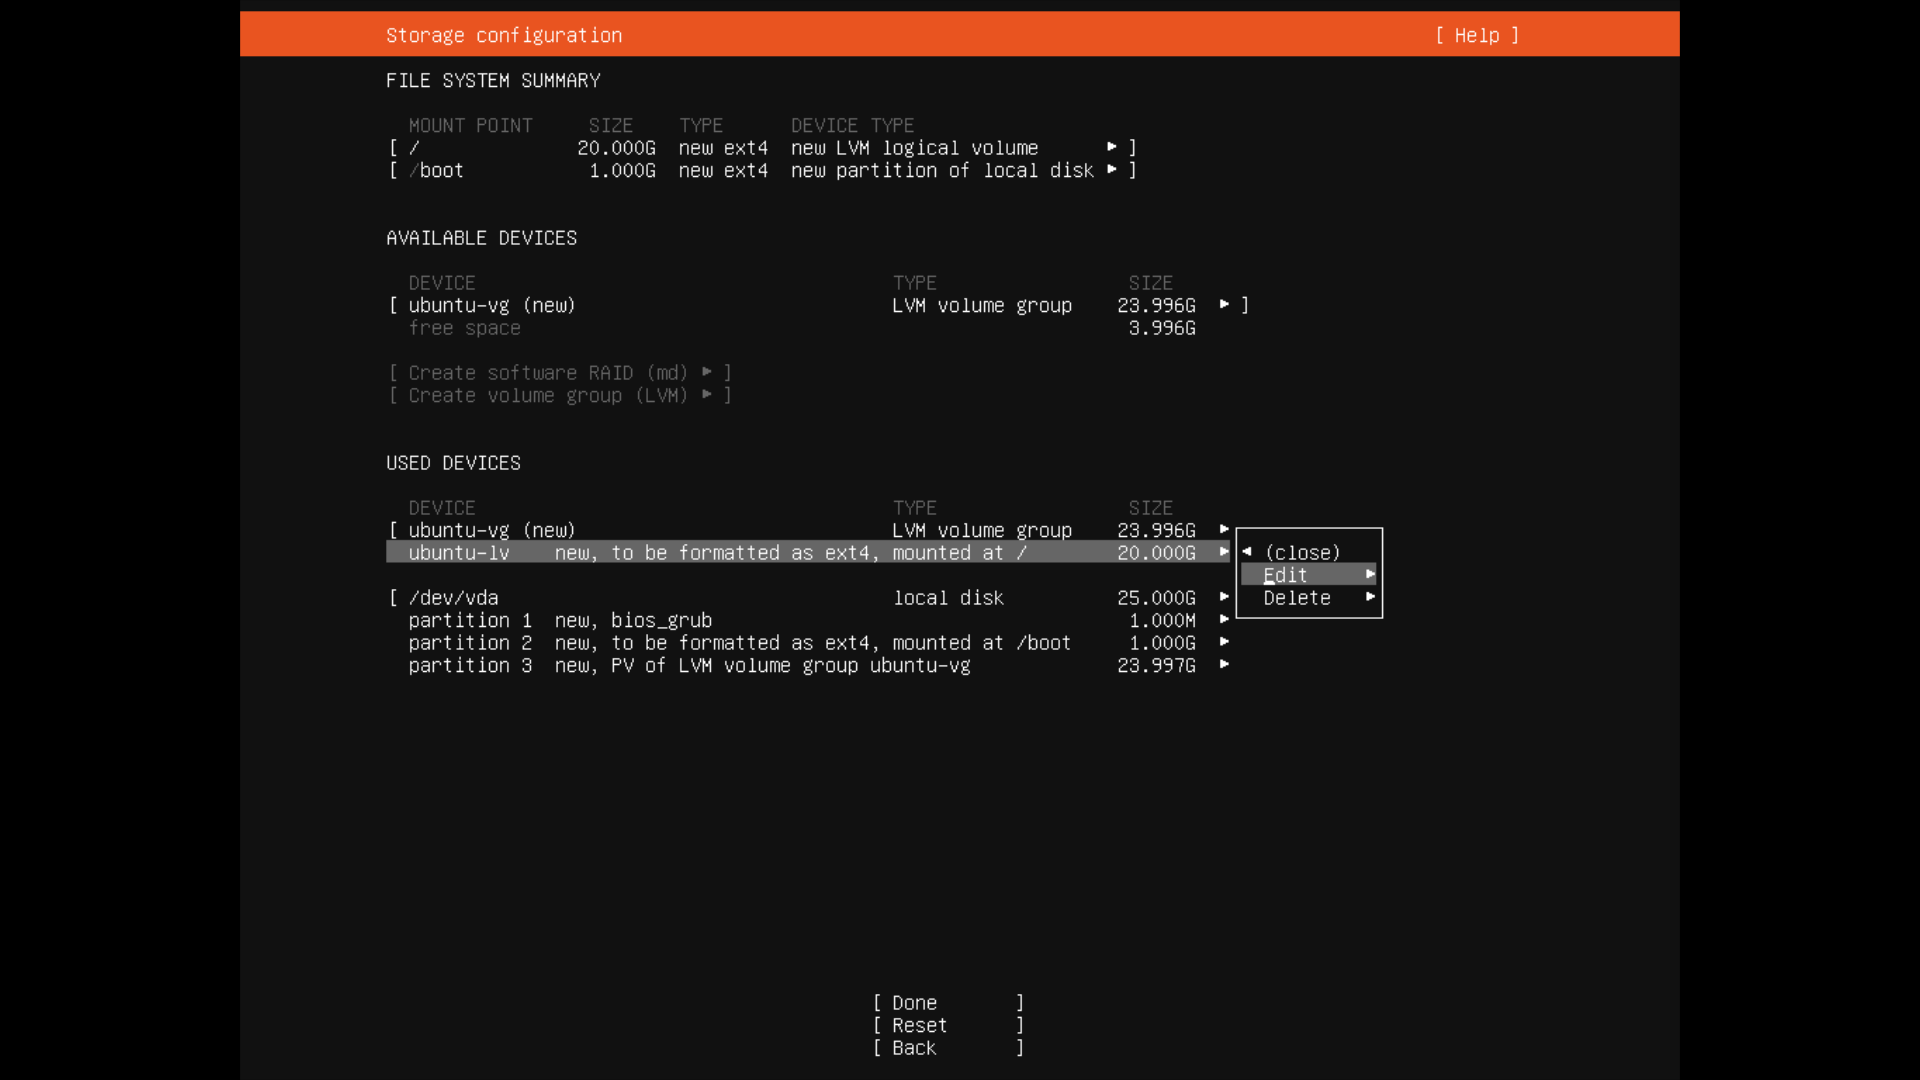
論理ボリューム最大化の様子その2
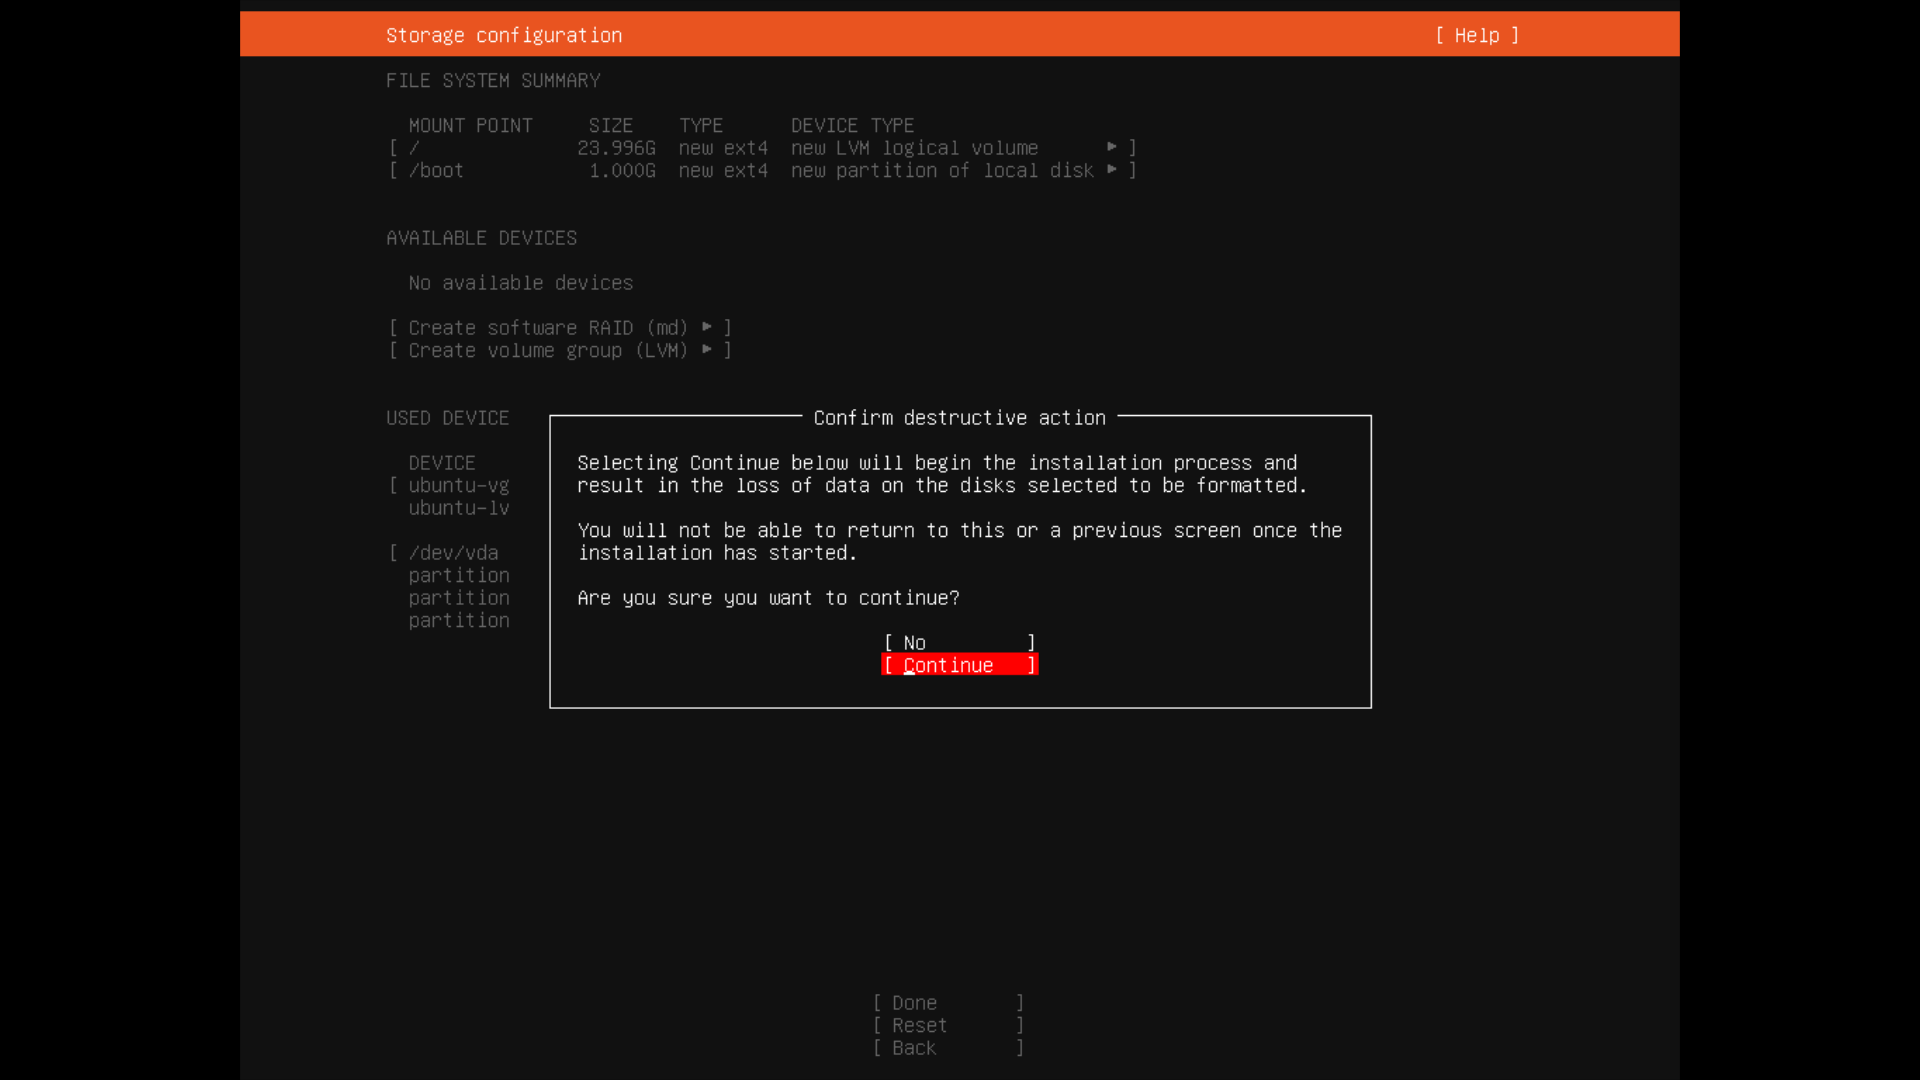
最終確認
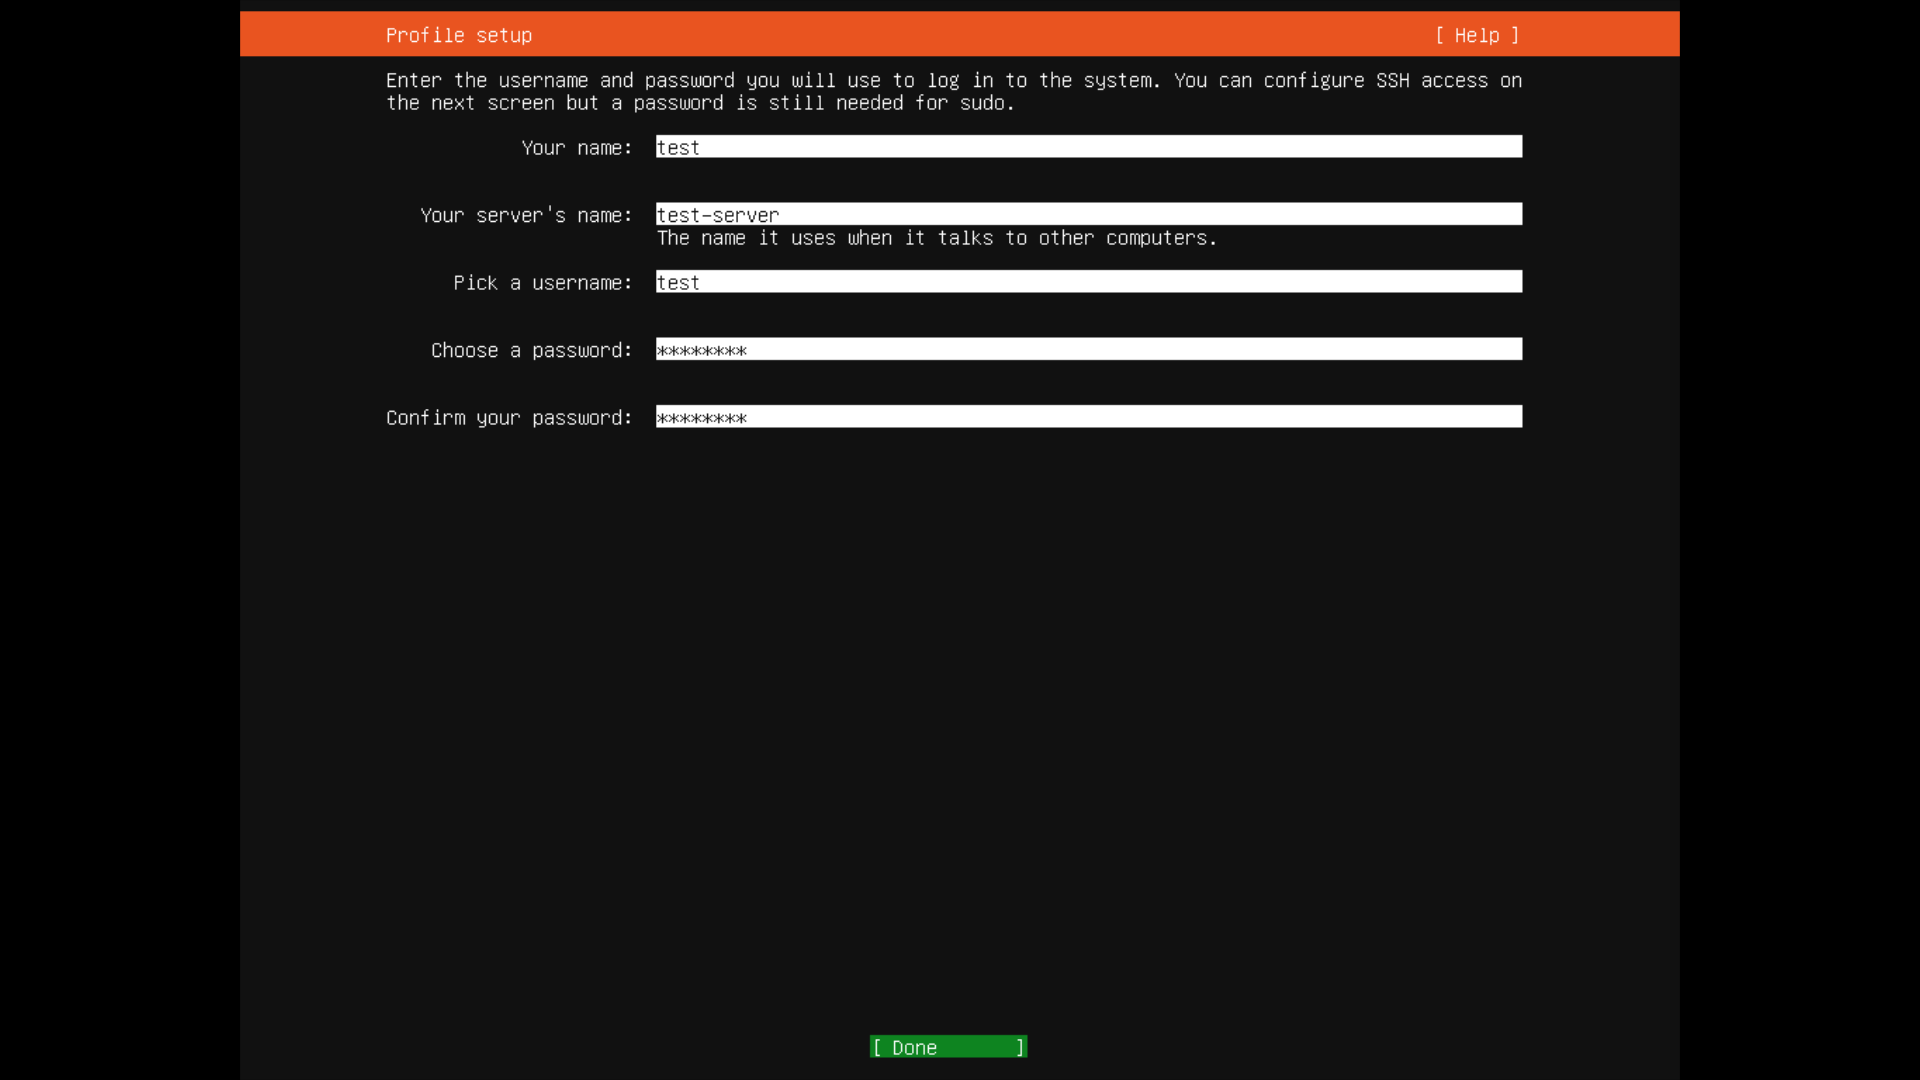
Server name その他
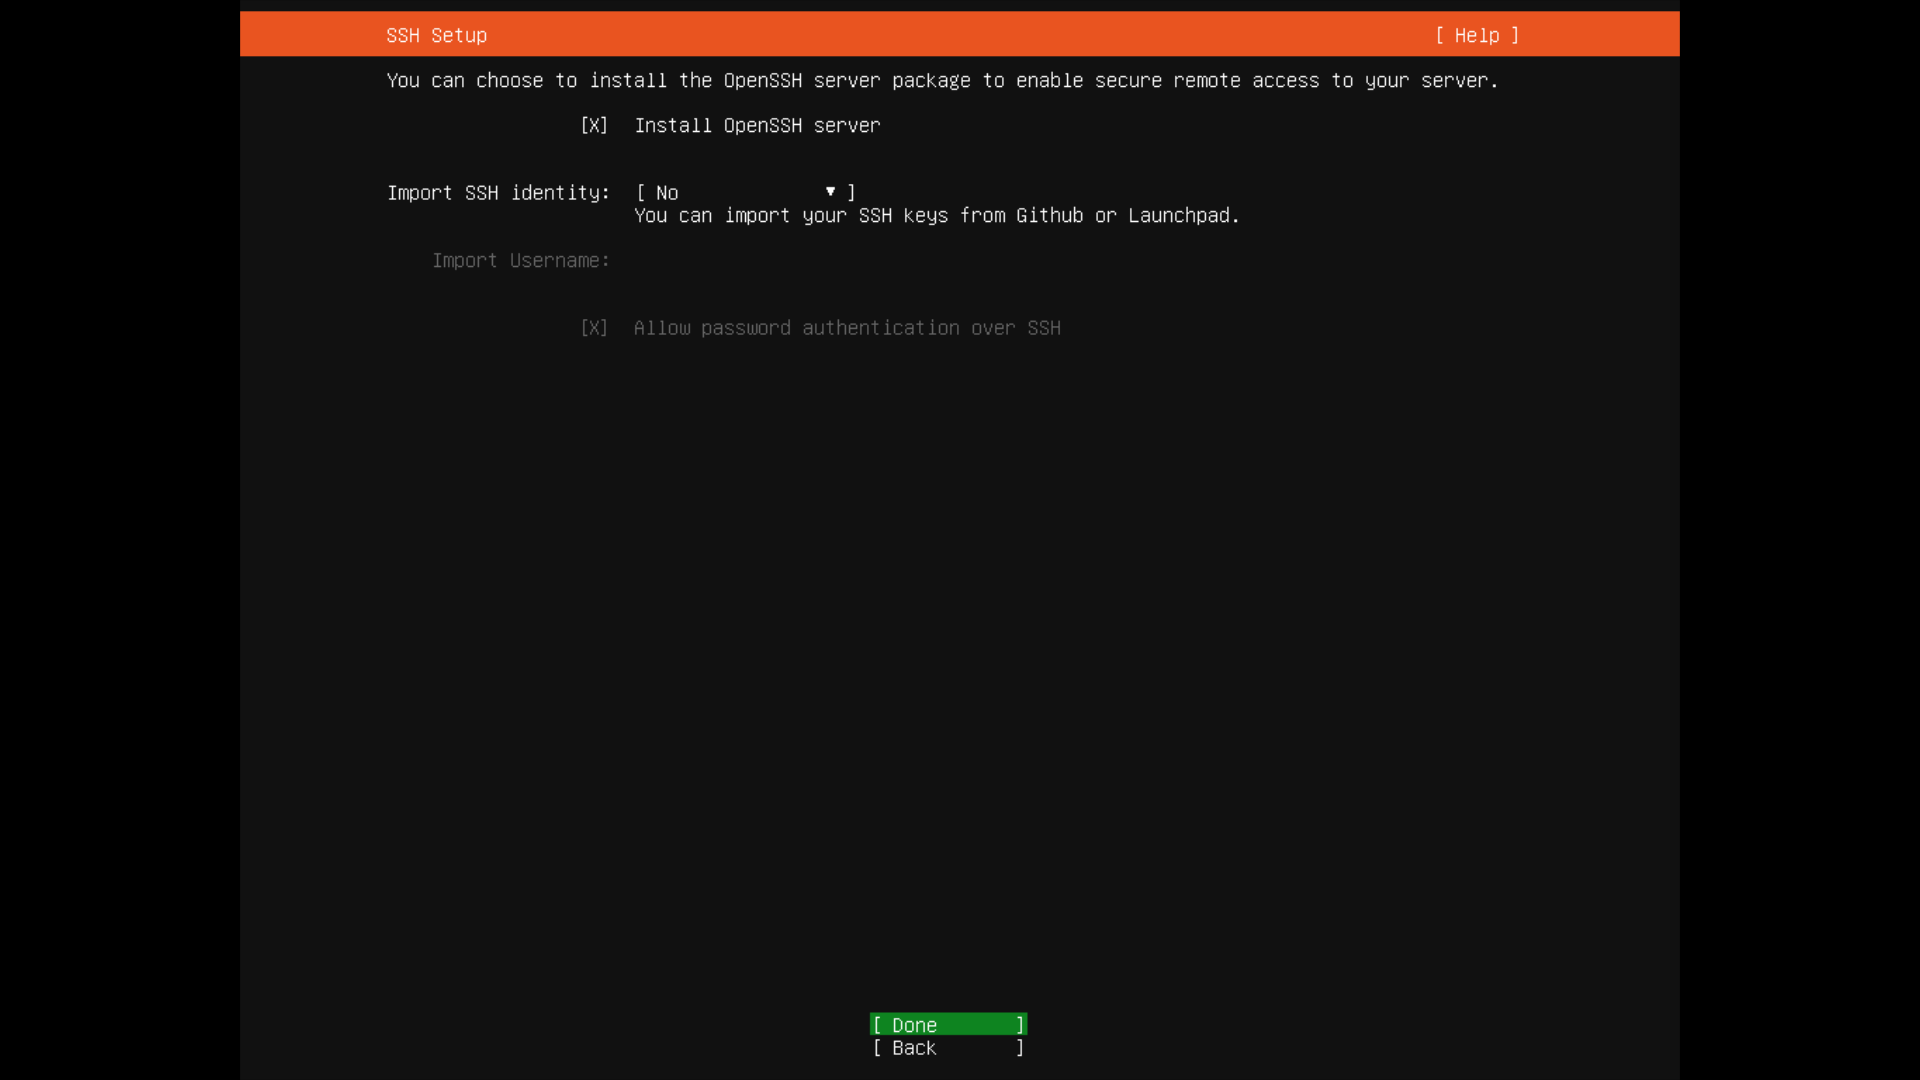
ssh ログイン有効化
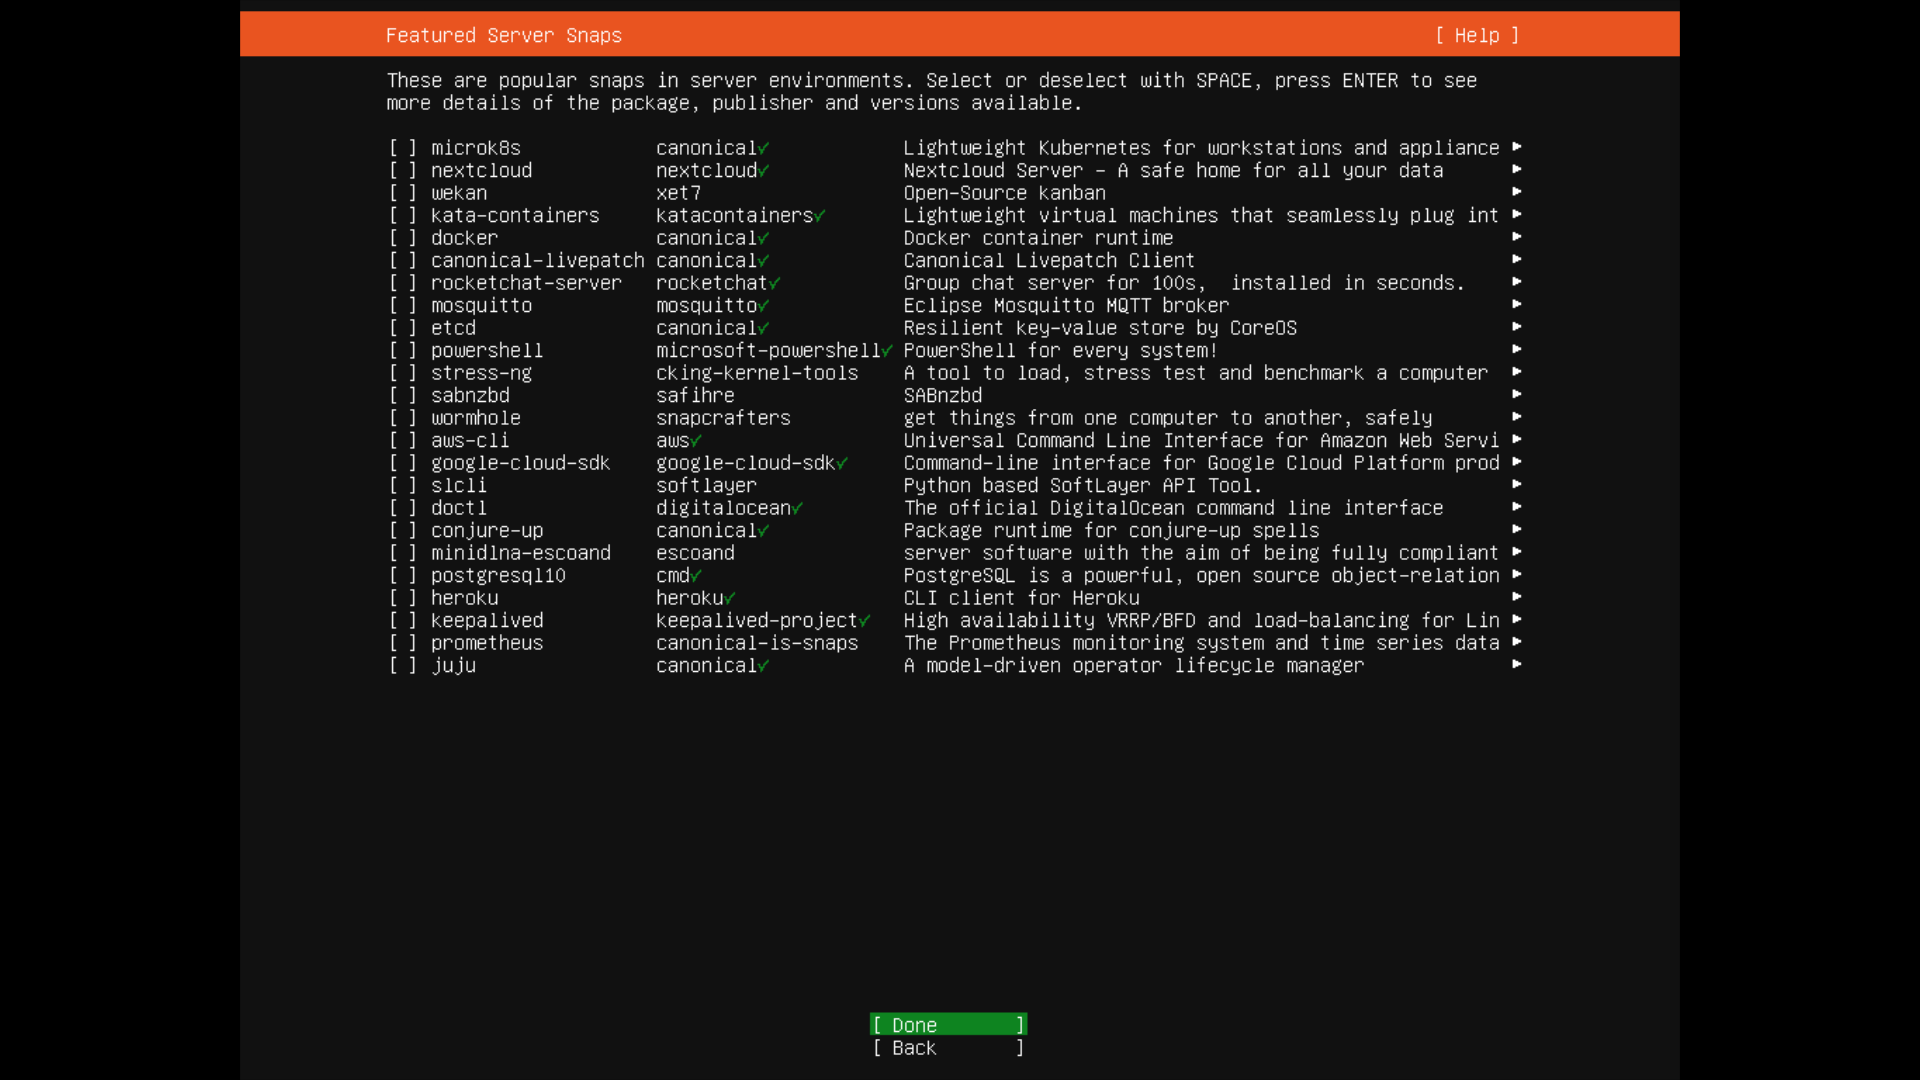
Server Snaps (使ったことがない)
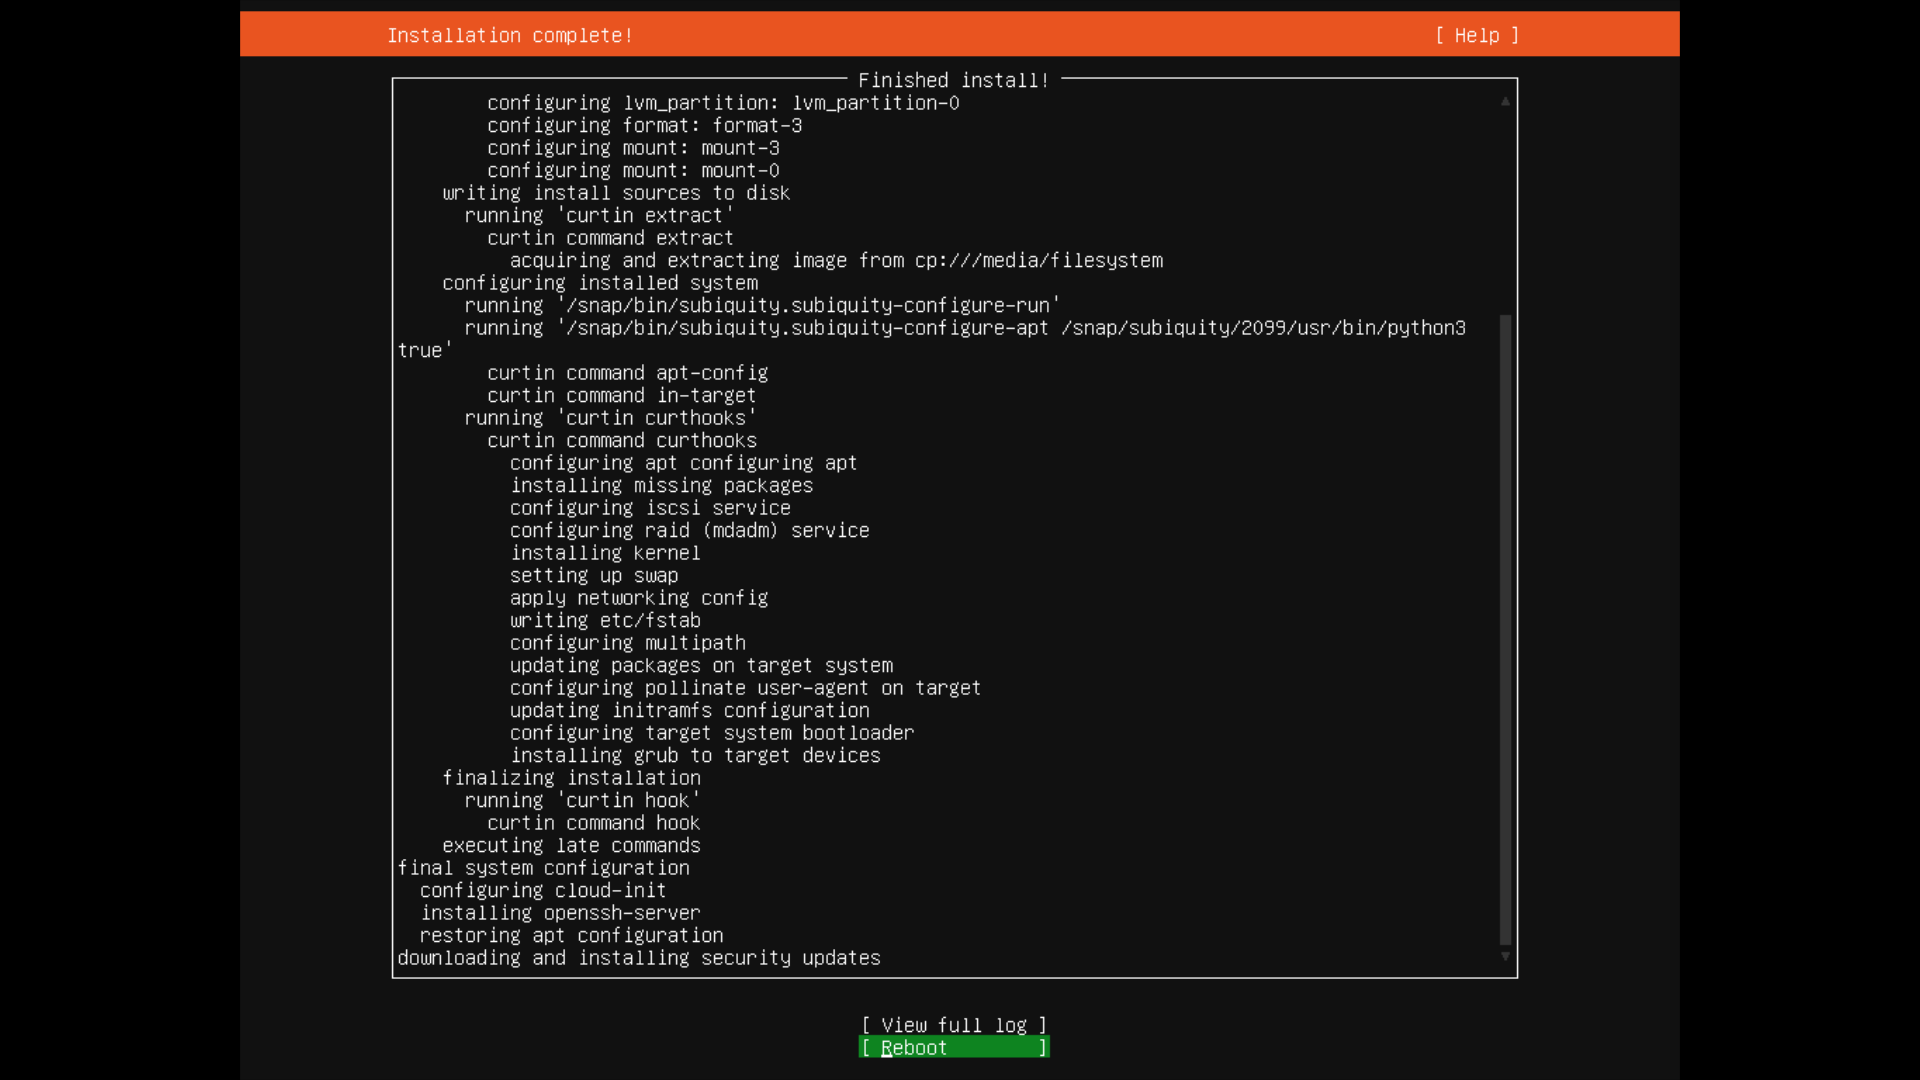
インストール完了
Proxmox の管理画面で CD/DVD のメディアを削除して再起動。
Reverse Proxy 用と Web Server 用のどちらの仮想マシンにも Ubuntu をインストールした。
日本語ロケール、日本語マニュアルの追加
インストール直後の仮想マシン2台ともに行ったこと。
基本的にサーバー PC にローカルでログインすることはなく、ssh でリモートログインしている。
もちろん Proxmox 仮想マシンのコンソールでもOK。
$ sudo apt install -y language-pack-ja
$ sudo localectl set-locale 'LANG=ja_JP.utf8'
$ sudo apt install -y manpages-ja manpages-ja-dev
$ sudo timedatectl set-timezone Asia/Tokyo
ログインし直して確認。
$ locale
LANG=ja_JP.utf8
LANGUAGE=
LC_CTYPE="ja_JP.utf8"
LC_NUMERIC="ja_JP.utf8"
LC_TIME="ja_JP.utf8"
LC_COLLATE="ja_JP.utf8"
LC_MONETARY="ja_JP.utf8"
LC_MESSAGES="ja_JP.utf8"
LC_PAPER="ja_JP.utf8"
LC_NAME="ja_JP.utf8"
LC_ADDRESS="ja_JP.utf8"
LC_TELEPHONE="ja_JP.utf8"
LC_MEASUREMENT="ja_JP.utf8"
LC_IDENTIFICATION="ja_JP.utf8"
LC_ALL=
Reverse Proxy の設定(Nginx)
Nginx と certbot のインストール
SSL は Reverse Proxy で終端させるから無料証明書関係の certbot をインストールする。Nginx 用のプラグインをインストールすれば依存関係で一式インストール可能。
$ sudo apt -y install nginx python3-certbot-nginxNginx 設定ファイルの作成
インストール直後は /etc/nginx/sites-enabled/ に設定ファイル default のシンボリックがあるから削除する。
/etc/nginx/sites-available/ に移動して、ドメイン毎の設定ファイルを作成する。
以下は、仮想マシン Server1 で2つのドメインを、仮想マシン Server2 で1つのドメインを運用する場合の例。
ファイル名に .conf はいらない。あとで certbot を使ってサーバー証明書と秘密鍵を設定するから、この時点では次のような内容でいい。
$ sudo vi /etc/nginx/sites-available/ex1.mydns.jp

server {
    server_name ex1.mydns.jp;
    location / {
        proxy_set_header    Host    $host;
        proxy_set_header    X-Real-IP    $remote_addr;
        proxy_set_header    X-Forwarded-Host       $host;
        proxy_set_header    X-Forwarded-Server    $host;
        proxy_set_header    X-Forwarded-For    $proxy_add_x_forwarded_for;
        proxy_pass    http://192.168.1.5;  # Server1のアドレス
        proxy_redirect http:// https://;
    }
}


$ sudo vi /etc/nginx/sites-available/ex2.mydns.jp

server {
    server_name ex2.mydns.jp;
    location / {
        proxy_set_header    Host    $host;
        proxy_set_header    X-Real-IP    $remote_addr;
        proxy_set_header    X-Forwarded-Host       $host;
        proxy_set_header    X-Forwarded-Server    $host;
        proxy_set_header    X-Forwarded-For    $proxy_add_x_forwarded_for;
        proxy_pass    http://192.168.1.5;  # Server1のアドレス
        proxy_redirect http:// https://;
    }
}


$ vi /etc/nginx/sites-available/nextcloud.mydns.jp

server {
    server_name nextcloud.mydns.jp;
    location / {
        proxy_set_header    Host    $host;
        proxy_set_header    X-Real-IP    $remote_addr;
        proxy_set_header    X-Forwarded-Host       $host;
        proxy_set_header    X-Forwarded-Server    $host;
        proxy_set_header    X-Forwarded-For    $proxy_add_x_forwarded_for;
        proxy_pass    http://192.168.1.6;  # Server2のアドレス
        proxy_redirect http:// https://;
    }
}
作成が終わったら /etc/nginx/sites-enabled/ にシンボリックを作る。
$ sudo ln -s /etc/nginx/sites-available/ex1.mydns.jp /etc/nginx/sites-enabled/ex1.mydns.jp
$ sudo ln -s /etc/nginx/sites-available/ex2.mydns.jp /etc/nginx/sites-enabled/ex2.mydns.jp
$ sudo ln -s /etc/nginx/sites-available/nextcloud.mydns.jp /etc/nginx/sites-enabled/nextcloud.mydns.jp
certbot の実行
各ドメインについて certbot を実行する。cron にも登録してくれるので、以降は特に何もすることは無い。
結果は次のとおり。
$ sudo certbot
Saving debug log to /var/log/letsencrypt/letsencrypt.log
Plugins selected: Authenticator nginx, Installer nginx

Which names would you like to activate HTTPS for?
- - - - - - - - - - - - - - - - - - - - - - - - - - - - - - - - - - - - - - - -
1: ex1.mydns.jp
2: ex2.mydns.jp
3: nextcloud.mydns.jp
- - - - - - - - - - - - - - - - - - - - - - - - - - - - - - - - - - - - - - - -
Select the appropriate numbers separated by commas and/or spaces, or leave input
blank to select all options shown (Enter 'c' to cancel): 1
Cert not yet due for renewal

You have an existing certificate that has exactly the same domains or certificate name you requested and isn't close to expiry.
(ref: /etc/letsencrypt/renewal/ex1.mydns.jp.conf)

What would you like to do?
- - - - - - - - - - - - - - - - - - - - - - - - - - - - - - - - - - - - - - - -
1: Attempt to reinstall this existing certificate
2: Renew & replace the cert (limit ~5 per 7 days)
- - - - - - - - - - - - - - - - - - - - - - - - - - - - - - - - - - - - - - - -
Select the appropriate number [1-2] then [enter] (press 'c' to cancel): 1
Keeping the existing certificate
Deploying Certificate to VirtualHost /etc/nginx/sites-enabled/ex1.mydns.jp

Please choose whether or not to redirect HTTP traffic to HTTPS, removing HTTP access.
- - - - - - - - - - - - - - - - - - - - - - - - - - - - - - - - - - - - - - - -
1: No redirect - Make no further changes to the webserver configuration.
2: Redirect - Make all requests redirect to secure HTTPS access. Choose this for
new sites, or if you're confident your site works on HTTPS. You can undo this
change by editing your web server's configuration.
- - - - - - - - - - - - - - - - - - - - - - - - - - - - - - - - - - - - - - - -
Select the appropriate number [1-2] then [enter] (press 'c' to cancel): 2
Traffic on port 80 already redirecting to ssl in /etc/nginx/sites-enabled/ex1.mydns.jp

- - - - - - - - - - - - - - - - - - - - - - - - - - - - - - - - - - - - - - - -
Congratulations! You have successfully enabled https://ex1.mydns.jp

You should test your configuration at:
https://www.ssllabs.com/ssltest/analyze.html?d=ex1.mydns.jp
- - - - - - - - - - - - - - - - - - - - - - - - - - - - - - - - - - - - - - - -

IMPORTANT NOTES:
 - Congratulations! Your certificate and chain have been saved at:
   /etc/letsencrypt/live/ex1.mydns.jp/fullchain.pem
   Your key file has been saved at:
   /etc/letsencrypt/live/ex1.mydns.jp/privkey.pem
   Your cert will expire on 2020-07-23. To obtain a new or tweaked
   version of this certificate in the future, simply run certbot again
   with the "certonly" option. To non-interactively renew *all* of
   your certificates, run "certbot renew"
 - If you like Certbot, please consider supporting our work by:

   Donating to ISRG / Let's Encrypt:   https://letsencrypt.org/donate
   Donating to EFF:                    https://eff.org/donate-le
設定ファイルの微調整
certbot で修正された設定ファイルの listen に http2 を追加する。
あと、Nginx が受け取ることのできる POST の最大サイズを Nginx 標準の 1M から変更する(例では 200M )。
当然、各ドメイン用の設定ファイルを修正する。
server {
    server_name ex1.mydns.jp;
    client_max_body_size 200m;
    location / {
        proxy_set_header    Host    $host;
        proxy_set_header    X-Real-IP    $remote_addr;
        proxy_set_header    X-Forwarded-Host       $host;
        proxy_set_header    X-Forwarded-Server    $host;
        proxy_set_header    X-Forwarded-For    $proxy_add_x_forwarded_for;
        proxy_pass    http://192.168.1.5;
        proxy_redirect http:// https://;
    }
    listen 443 ssl http2; # managed by Certbot
    ssl_certificate /etc/letsencrypt/live/ex1.mydns.jp/fullchain.pem; # managed by Certbot
    ssl_certificate_key /etc/letsencrypt/live/ex1.mydns.jp/privkey.pem; # managed by Certbot
    include /etc/letsencrypt/options-ssl-nginx.conf; # managed by Certbot
    ssl_dhparam /etc/letsencrypt/ssl-dhparams.pem; # managed by Certbot
}
server {
    if ($host = ex1.mydns.jp) {
        return 301 https://$host$request_uri;
    } # managed by Certbot
    server_name ex1.mydns.jp;
    listen 80;
    return 404; # managed by Certbot
}
一通りの設定が終わったら、念のため設定ファイルに間違いが無いか確認して、OK なら Nginx を再起動する。
$ sudo nginx -t
nginx: the configuration file /etc/nginx/nginx.conf syntax is ok
nginx: configuration file /etc/nginx/nginx.conf test is successful

$ sudo service nginx restart
Nextcloud 用の設定ファイルには別途、以下の修正が必要。

バックエンドサーバ−の設定
とりあえずダラダラと必要なソフトをインストールして、個別の設定は後回し。
Web Server , FTP Server のインストール
Apache と ProFTPD をインストール。ついでにドキュメントもインストール。
$ sudo apt install -y apache2 apache2-doc proftpd-basic proftpd-docMariaDB 10.3 のインストール
MySQL から乗り換えた。とりあえずスタートしておく。
$ sudo apt install -y mariadb-server
$ sudo service mysql start
PHP 関係のインストール
$ sudo apt install -y php7.4 php7.4-fpm php7.4-mysqlphpMyAdmin のインストール
何かと便利。サーバーの種類は「apache2」、「dbconfig-commonで設定しますか?」は「yes」 、ユーザー「phpmyadmin」のパスワードを聞かれるので2回入力する。
$ sudo apt install -y phpmyadmin念の為、次のコマンドを実行して MariaDB との通信が TCP/IP になるよう再構築する。
$ sudo dpkg-reconfigure phpmyadminroot のパスワードを設定する(上記コマンド実行中に設定されなかった場合)。
$ sudo mysql -u root

mysql> update mysql.user set password=password('root用のパスワード') where user = 'root';
mysql> flush privileges;
mysql> exit;
またはこちら。
$ sudo mysqladmin -u root password 'root用の任意パスワード'ユーザー phpmyadmin への権限付与
権限付与以外の全ての権限を付与する場合。
$ sudo mysql

まだユーザー phpmyadmin を追加していない場合はここから。
mysql> create user 'phpmyadmin'@'localhost' identified by 'パスワード';

既にユーザー phpmyadmin を追加している場合はここから。
mysql> grant all on *.* to 'phpmyadmin'@'localhost' with grant option;

mysql> flush privileges;
phpmyadmin.conf の編集
phpmyadmin.conf に2行追加する。
併せてインストール直後は phpMyAdmin のログイン画面が丸見えなので、/usr/share/phpmyadmin/ に .htaccess を設置して、Basic認証によるアクセス制限をかけておく。
$ sudo vi /etc/apache2/conf-enabled/phpmyadmin.conf
 <Directory /usr/share/phpmyadmin>
     Options SymLinksIfOwnerMatch
     DirectoryIndex index.php
     # 以下の2行を追加
     AllowOverride All
     Require all granted

$ sudo service apache2 restart
諸々設定
ufw
ファイアーウォール ufw の有効化。この後も必要なポートを都度、追加する。
sudo ufw allow 21/tcp
sudo ufw allow 22/tcp
sudo ufw allow 80/tcp
sudo ufw allow 443/tcp
sudo ufw allow 49152:65534/tcp


$ sudo ufw enable
Apache の設定
VirtualHost の設定
/etc/apache2/sites-available の 000-default.conf をコピーして編集してもいい。
リバースプロキシのバックエンドとして設置するため“Setenv HTTPS ON” を記述する。
あらかじめ DocumentoRoot で指定するディレクトリを作成しておくこと。
でないと Apache は起動しない。
# 編集する
$ sudo vi /etc/apache2/sites-available/ex1.mydns.conf


<VirtualHost *:80>
ServerName ex1.mydns.jp
DocumentRoot /home/hoge/public_html/ex1.mydns.jp
ErrorLog /var/log/apache2/virtual.host.error.log
CustomLog /var/log/apache2/virtual.host.access.log combined
LogLevel warn

    Setenv HTTPS ON
    RemoteIPHeader X-Forwarded-For
    RemoteIPInternalProxy 192.168.1.4/24

  <Directory /home/hoge/public_html/ex1.mydns.jp>
    Options FollowSymlinks Includes
    AllowOverride All
    AddType text/html .html
    Require all granted
  </Directory>

</VirtualHost>
RewriteEngine の有効化
$ sudo a2enmod rewriteremoteip の有効化
接続元 PC のアドレスを取得できるように設定ファイルには RemoteIPHeader と RemoteIPInternalProxy を記述している。
併せてモジュールの有効化が必要。
$ sudo a2enmod remoteip Apache の設定ファイルの有効化と確認と起動
# VirtualHost の有効化
$ sudo a2ensite ex1.mydns.jp

# 設定ファイルの確認
$ sudo apache2ctl -t
Syntax OK

# Apacheを再起動する
$ sudo service apache2 restart
Apache Manual の有効化
$ sudo a2enconf apache2-doc
$ sudo service apache2 restart
ProFTPD
DefaultRoot はレンタルサーバーと同じようにユーザーのホームディレクトリにした。この中の public_html に公開ドキュメントを置く。
$ sudo vi /etc/proftpd/proftpd.conf

※変更したのはこれくらい
ServerName                      "HTTP Server"
IdentLookups                    off
UseReverseDNS                   off
DefaultRoot                     ~/public_html
PassivePorts                    49152 65534
Umask                           072  072

$ sudo service proftpd restart
FPM/FastCGI の設定
www.conf を編集する。
$ cd /etc/php/7.4/fpm/pool.d
$ sudo vi www.conf

# ここだけ編集
user = hoge
group = hoge
php.ini を編集する。
FastCGI を使用する場合は、~/public_html/ex1.mydns.jp/ に .user.ini を設置することができる。
$ cd /etc/php/7.4/fpm/
$ sudo vi php.ini

# アップロードファイルサイズやメモリ上限などなど適宜編集
# .user.ini の場合は次を記述して適宜変更する。

;メモリ使用量の上限
memory_limit = 1000M
;POSTデータの最大サイズ ※合計サイズ
post_max_size = 1000M
;1ファイルあたりの最大アップロードサイズ
upload_max_filesize = 1000M
CGI版PHPの有効化(モジュール版PHPはインストールしてない)
$ sudo a2enconf php7.4-fpm
$ sudo a2enmod proxy_fcgi

再起動
$ sudo service php7.4-fpm restart
$ sudo service apache2 restart
phpMyAdmin のエラーメッセージを消す
下の画像のようにエラーメッセージが出ているから対策する。
FastCGIを有効化したことでパーミッションの設定を変更する必要がある。
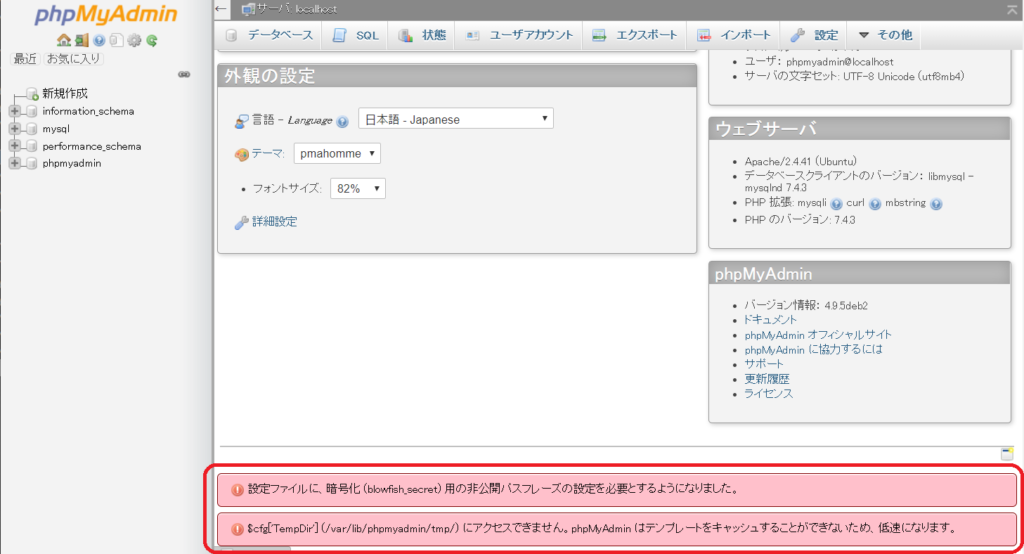
出ているメッセージは2つ。
- 設定ファイルに、暗号化 (blowfish_secret) 用の非公開パスフレーズの設定を必要とするようになりました。
- $cfg['TempDir'] (/var/lib/phpmyadmin/tmp/) にアクセスできません。phpMyAdmin はテンプレートをキャッシュすることができないため、低速になります。
対策は、 /var/lib/ で phpmyadmin のパーミッションを変更すればよい。
$ sudo chown -R hoge:hoge ./phpmyadmin書き忘れたことがあるかもしれないが、多分、とりあえずこれで WordPress の動作環境は整うと思う。
ダメならググれば何とかなるでしょう。

コメント