


Mastodon 用に急いでメールサーバーを用意したけど、まともにメモを残していなかったから改めて整理しておこう。
準備
このあたりは自鯖環境によってマチマチなので必要に応じてということで。
メールの送受信は LAN 外から普通にできるように Wi-Fi ルーターで port 587 と port 993 をメールサーバーに向けておく(port 25 だけは Proxmox Mail Gateway に)。
MyDNS の DOMAIN INFO から MX レコードを追加しておく。mail.ex1.mydns.jp や smtp.ex2.mydns.jp のように、運用する各ドメインごとに設定すること。spf レコードは表示されていないけど自動で設定してくれる。

v=spf1 +ip4:123.123.123.123 a:auth.gate-on.net a mx -all
※IPアドレスは適当。
あと、Let's Encrypt の証明書を取得・更新するため、reverse proxy で port 80 がメールサーバーに到達するように設定しておく。httpd は動作していなくてもOK。
仮想マシンの準備
今回は CT ではなく、普通に VM(Ubuntu 22.04.1)にしてみた。
初期設定
とりあえず qemu-guest-agent のインストールと日本語 locale の設定。
$ sudo apt install qemu-guest-agent$ sudo apt install -y language-pack-ja
$ sudo localectl set-locale 'LANG=ja_JP.utf8'
$ sudo apt install -y manpages-ja manpages-ja-dev
$ sudo timedatectl set-timezone Asia/TokyoLet's Encrypt
続いて certbot をインストール。
$ sudo apt install certbot証明書の取得は自動更新がされるよう、運用する mail.jisaba.life などドメインごとに取得した。
$ sudo certbot certonly --standalone -d mail.jisaba.life
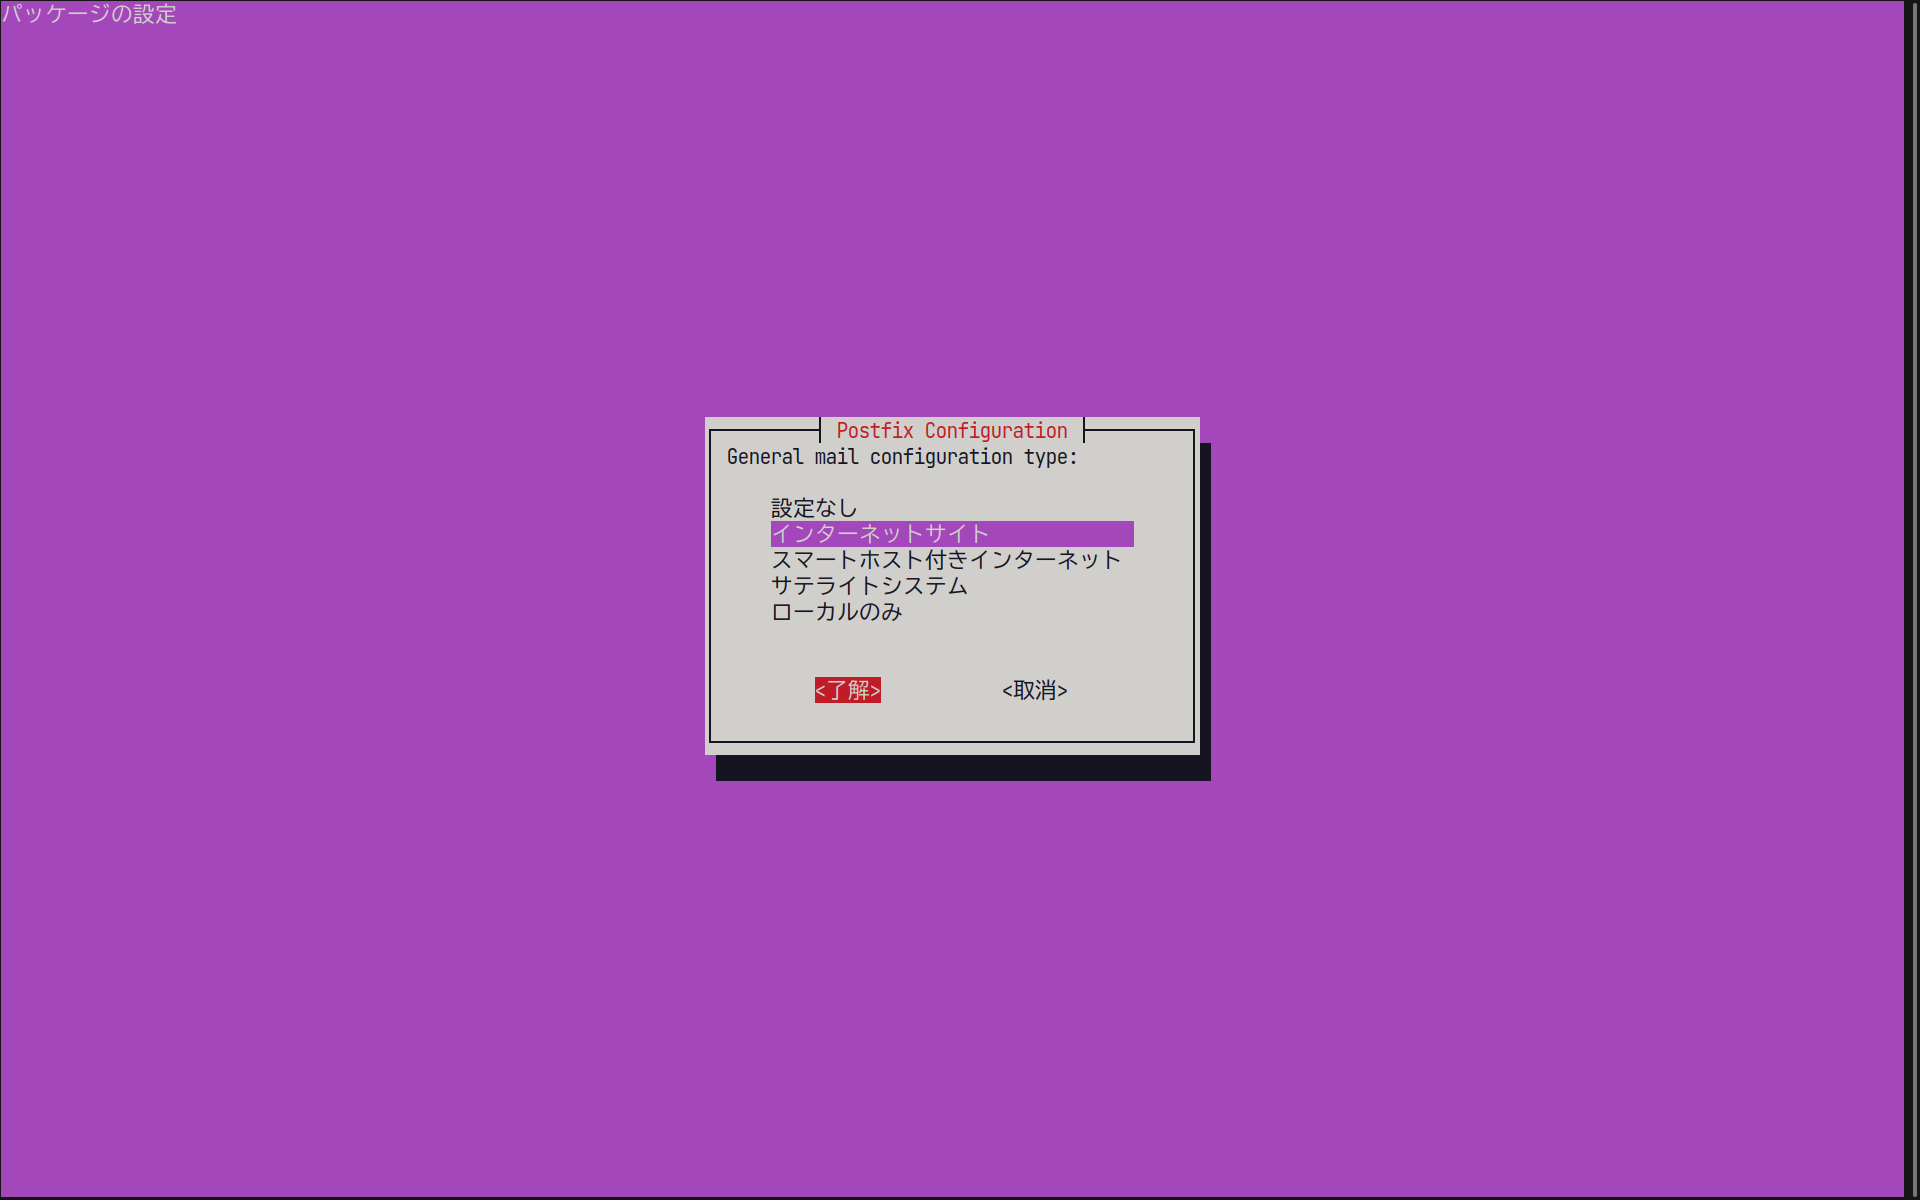
※運用するドメインの数だけ実行する。Postfix のインストール
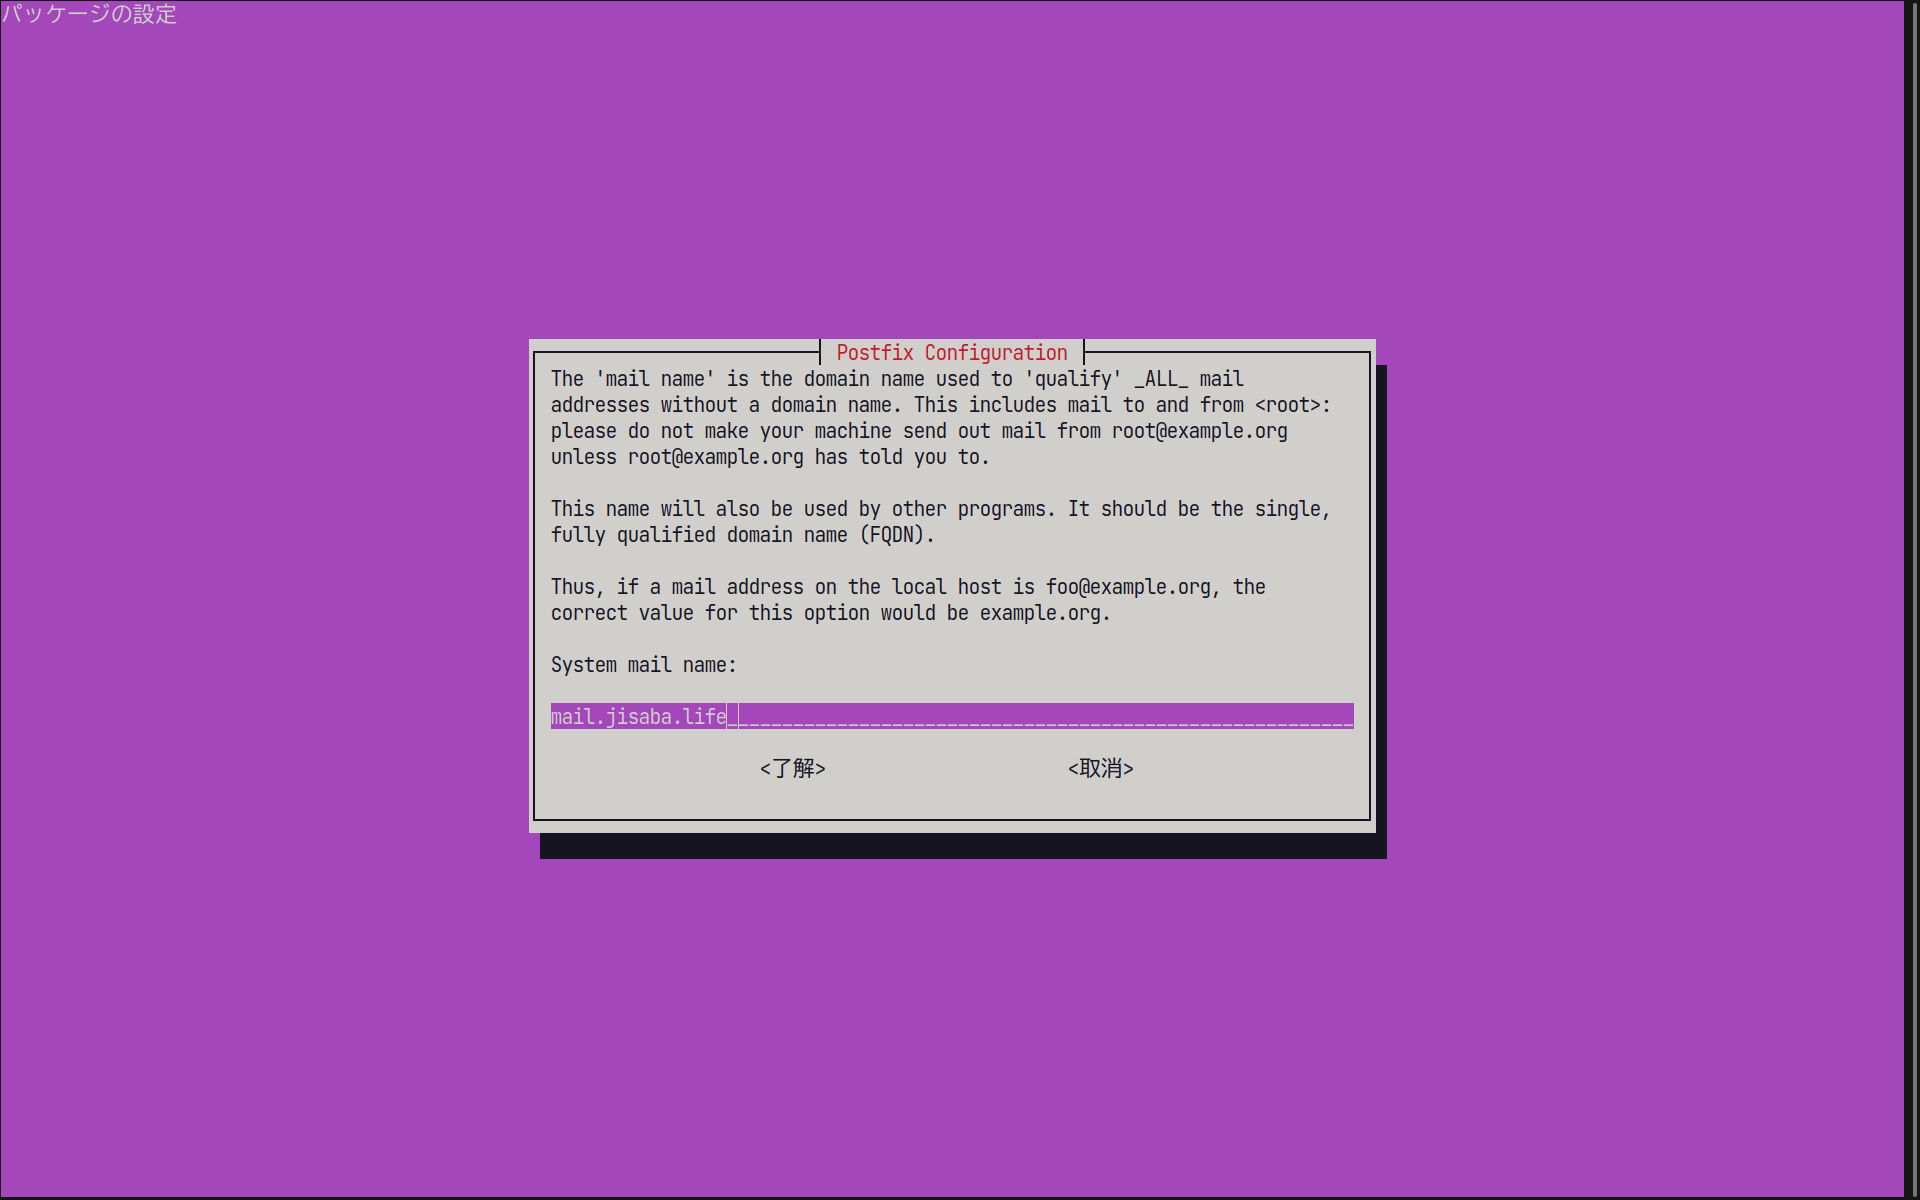
外部と送受信するメールサーバーとして設定する。ホスト名(mail)は MyDNS の設定と同じものにすること。
$ sudo apt install postfix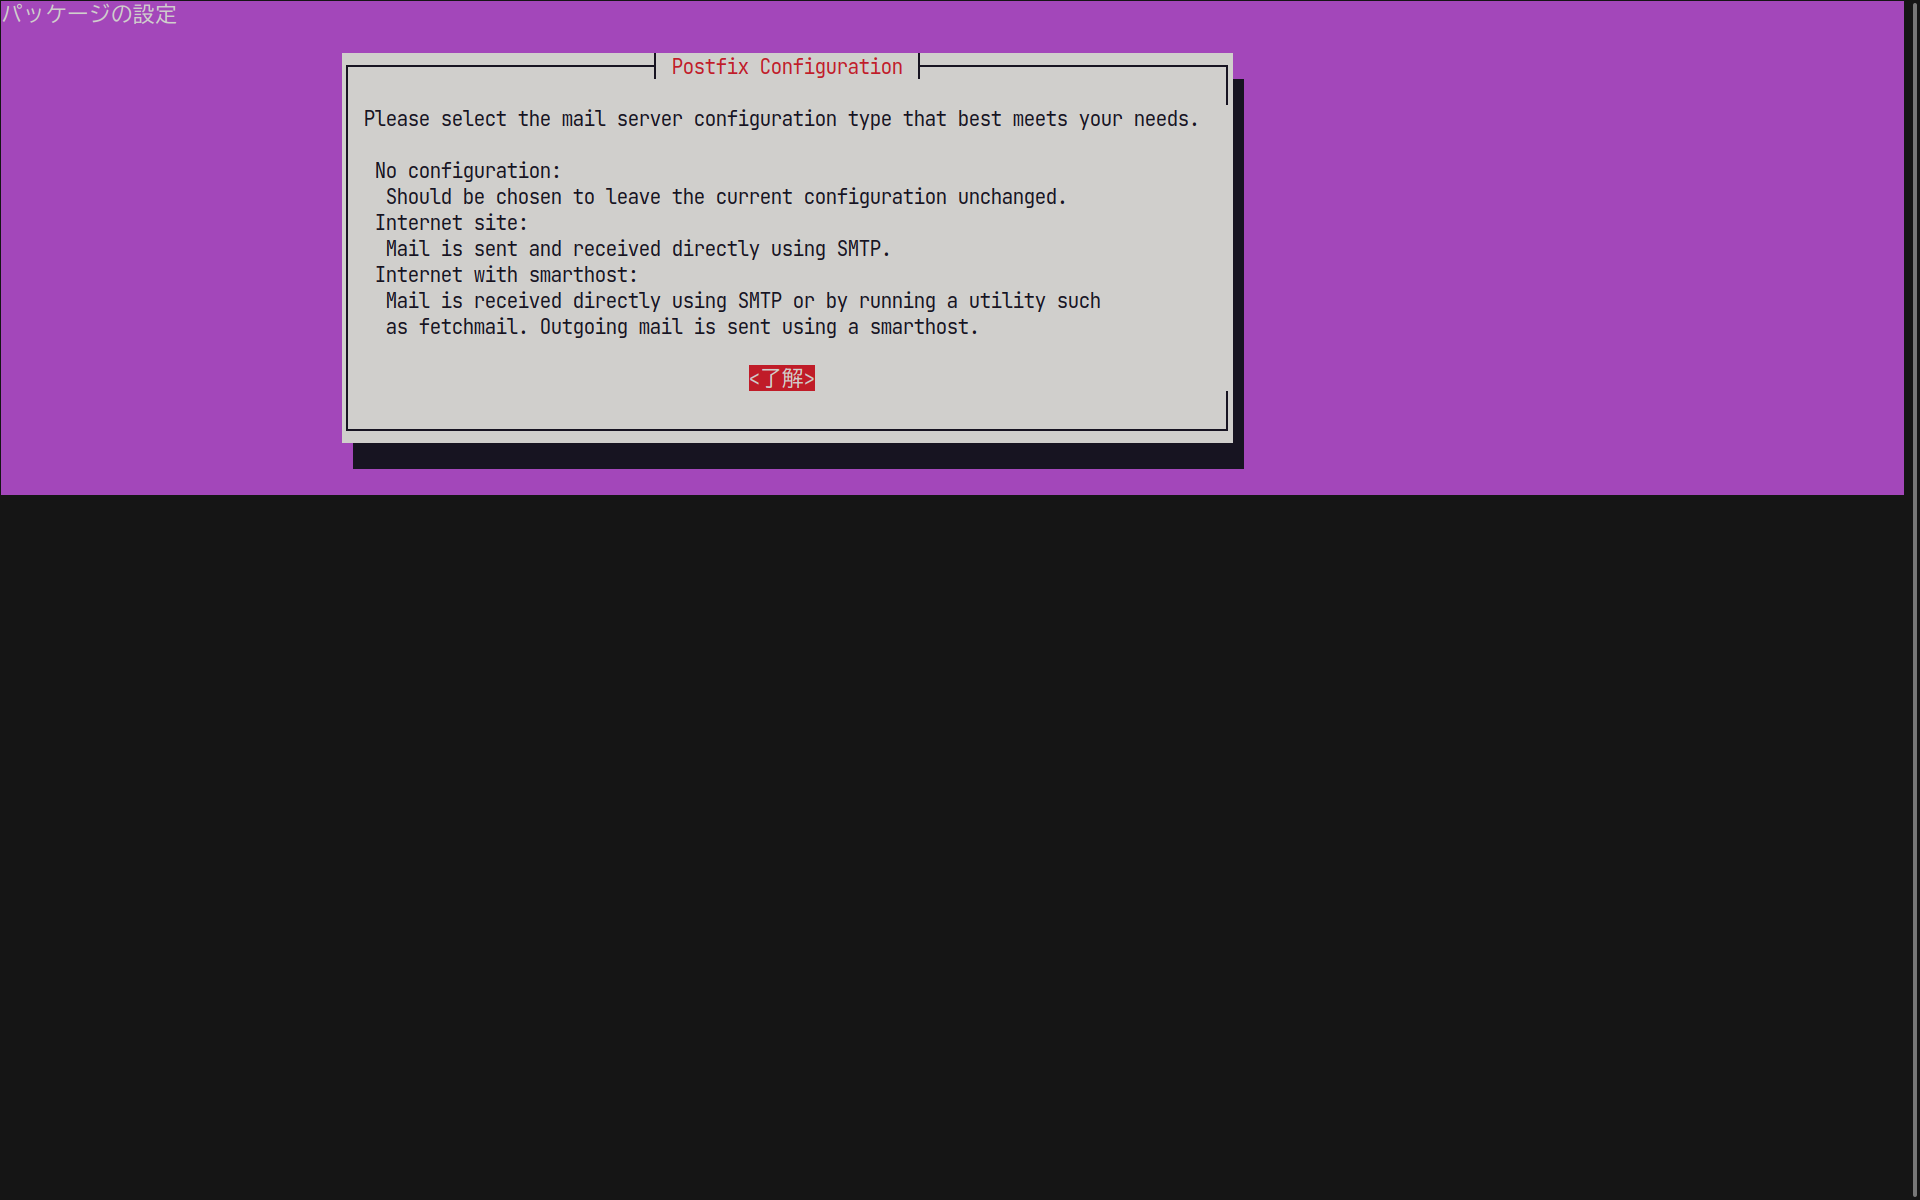
SPF の設定
次のコマンドでインストールするとユーザー追加その他諸々設定してくれる。
$ sudo apt install python3-spf-engine
$ sudo apt install pyspf-milter
Postfix の設定(main.cf)
初期設定ファイルを編集して、取り敢えず単独のドメイン(jisaba.life)でメールの送受信ができるように設定する。マルチドメイン対応(SNI)は一通り設定が終わってから。
参考にしたのはこちらのサイト。

設定ファイルの最終行に relayhost = [192.168.1.109]:26 としているのは、送信先として Proxmox Mail Gateway を指定するため。
# See /usr/share/postfix/main.cf.dist for a commented, more complete version


# Debian specific:  Specifying a file name will cause the first
# line of that file to be used as the name.  The Debian default
# is /etc/mailname.

### コメントを外す ###
myorigin = /etc/mailname

smtpd_banner = $myhostname ESMTP $mail_name (Ubuntu)
biff = no

# appending .domain is the MUA's job.
append_dot_mydomain = no

# Uncomment the next line to generate "delayed mail" warnings
#delay_warning_time = 4h

readme_directory = no

# See http://www.postfix.org/COMPATIBILITY_README.html -- default to 3.6 on
# fresh installs.
compatibility_level = 3.6


smtp_tls_CApath=/etc/ssl/certs
smtp_tls_security_level=may
smtp_tls_session_cache_database = btree:${data_directory}/smtp_scache


smtpd_relay_restrictions = permit_mynetworks permit_sasl_authenticated defer_unauth_destination
myhostname = mail.jisaba.life

### 追加 ###
mydomain = jisaba.life

alias_maps = hash:/etc/aliases
alias_database = hash:/etc/aliases
myorigin = /etc/mailname

### $mydomainを追加 ###
mydestination = $myhostname, mail.jisaba.life, mail, localhost.localdomain, localhost, $mydomain

relayhost =

### 変更 ###
mynetworks = 192.168.1.0/24 127.0.0.0/8

### 追加 ###
home_mailbox = Maildir/

mailbox_size_limit = 0
recipient_delimiter = +
inet_interfaces = all

### 変更 ###
inet_protocols = ipv4

### 以下追加 ###
smtpd_relay_restrictions = permit_mynetworks permit_sasl_authenticated defer_unauth_destination
smtpd_client_restrictions = reject_rbl_client bl.spamcop.net,
                            reject_rbl_client cbl.abuseat.org,
                            reject_rbl_client zen.spamhaus.org,
                            permit
smtpd_sasl_auth_enable = yes
smtpd_sasl_type = dovecot
smtpd_sasl_path = private/auth
smtpd_sasl_security_options = noanonymous
smtpd_sasl_local_domain = $myhostname
smtpd_recipient_restrictions = permit_mynetworks,
                               permit_sasl_authenticated,
                               check_relay_domains,
                               reject
debugger_command =
    PATH=/bin:/usr/bin:/usr/local/bin:/usr/X11R6/bin
    ddd $daemon_directory/$process_name $process_id & sleep 5
smtpd_tls_security_level = may
smtpd_tls_cert_file = /etc/letsencrypt/live/mail.jisaba.life/fullchain.pem
smtpd_tls_key_file = /etc/letsencrypt/live/mail.jisaba.life/privkey.pem
smtpd_tls_received_header = yes
smtpd_tls_loglevel = 1

smtp_tls_security_level = may
smtp_tls_loglevel = 1
smtp_tls_note_starttls_offer = yes

mua_client_restrictions =
mua_helo_restrictions =
mua_sender_restrictions =

### Proxmox Mail Gateway にリレー ###
relayhost = [192.168.1.109]:26
Postfix の設定(master.cf)
Thunderbird などの送信用に port 587(送信)で待ち受ける。リレーホストとの通信は main.cf の設定どおり port 26 にする。
26      inet  n       -       y       -       -       smtpd
submission inet n       -       y       -       -       smtpd
  -o syslog_name=postfix/submission
  -o smtpd_tls_security_level=encrypt
  -o smtpd_sasl_auth_enable=yes
  -o smtpd_tls_auth_only=yes
  -o smtpd_reject_unlisted_recipient=no
  -o smtpd_client_restrictions=$mua_client_restrictions
  -o smtpd_helo_restrictions=$mua_helo_restrictions
  -o smtpd_sender_restrictions=$mua_sender_restrictions
  -o smtpd_recipient_restrictions=
  -o smtpd_relay_restrictions=permit_sasl_authenticated,reject
  -o milter_macro_daemon_name=ORIGINATING

### 以下変更なし ###
pickup    unix  n       -       y       60      1       pickup
cleanup   unix  n       -       y       -       0       cleanup
qmgr      unix  n       -       n       300     1       qmgr
#qmgr     unix  n       -       n       300     1       oqmgr
tlsmgr    unix  -       -       y       1000?   1       tlsmgr
rewrite   unix  -       -       y       -       -       trivial-rewrite
bounce    unix  -       -       y       -       0       bounce
defer     unix  -       -       y       -       0       bounce
trace     unix  -       -       y       -       0       bounce
verify    unix  -       -       y       -       1       verify
flush     unix  n       -       y       1000?   0       flush
proxymap  unix  -       -       n       -       -       proxymap
proxywrite unix -       -       n       -       1       proxymap
smtp      unix  -       -       y       -       -       smtp
relay     unix  -       -       y       -       -       smtp
        -o syslog_name=postfix/$service_name
showq     unix  n       -       y       -       -       showq
error     unix  -       -       y       -       -       error
retry     unix  -       -       y       -       -       error
discard   unix  -       -       y       -       -       discard
local     unix  -       n       n       -       -       local
virtual   unix  -       n       n       -       -       virtual
lmtp      unix  -       -       y       -       -       lmtp
anvil     unix  -       -       y       -       1       anvil
scache    unix  -       -       y       -       1       scache
postlog   unix-dgram n  -       n       -       1       postlogd
maildrop  unix  -       n       n       -       -       pipe
  flags=DRXhu user=vmail argv=/usr/bin/maildrop -d ${recipient}
uucp      unix  -       n       n       -       -       pipe
  flags=Fqhu user=uucp argv=uux -r -n -z -a$sender - $nexthop!rmail ($recipient)
ifmail    unix  -       n       n       -       -       pipe
  flags=F user=ftn argv=/usr/lib/ifmail/ifmail -r $nexthop ($recipient)
bsmtp     unix  -       n       n       -       -       pipe
  flags=Fq. user=bsmtp argv=/usr/lib/bsmtp/bsmtp -t$nexthop -f$sender $recipient
scalemail-backend unix -       n       n       -       2       pipe
  flags=R user=scalemail argv=/usr/lib/scalemail/bin/scalemail-store ${nexthop} ${user} ${extension}
mailman   unix  -       n       n       -       -       pipe
  flags=FRX user=list argv=/usr/lib/mailman/bin/postfix-to-mailman.py ${nexthop} ${user}
Dovecot のインストールと設定
インストール
pop は使わずに imap だけで運用する。
$ sudo apt install dovecot-imapd設定
/etc/dovecot/conf.d/ 内のファイルを修正する。長いからコメント行なしで。
mail_location = maildir:~/Maildir
namespace inbox {
 inbox = yes
}
mail_privileged_group = mail
protocol !indexer-worker {
}
service imap-login {
inet_listener imap {
}
inet_listener imaps {
port = 993
ssl = yes
}
}
service pop3-login {
inet_listener pop3 {
}
inet_listener pop3s {
}
}
service submission-login {
inet_listener submission {
}
}
service lmtp {
unix_listener lmtp {
}
}
service imap {
}
service pop3 {
}
service submission {
}
service auth {
unix_listener auth-userdb {
}
unix_listener /var/spool/postfix/private/auth {
mode = 0666
user = postfix
group = postfix
}
}
service auth-worker {
}
service dict {
unix_listener dict {
}
}auth_mechanisms = plain
include auth-system.conf.extssl = yes
ssl_cert = </etc/letsencrypt/live/mail.jisaba.life/fullchain.pem
ssl_key = </etc/letsencrypt/live/mail.jisaba.life/privkey.pem
ssl_client_ca_dir = /etc/ssl/certs
ssl_dh = </usr/share/dovecot/dh.pemSNI によるマルチドメイン
ここまでの設定で、普通にメールの送受信ができると思う。ここからマルチドメインで運用するために設定ファイルを修正する。
次のサイトが詳しく、ほぼ記述のとおりで大丈夫だった。
Postfix(main.cf)の変更
### 削除(コメントアウト) ###
# mydomain = jisaba.life

### $mydomainの修正 ###
mydestination = $myhostname, localhost.$mydomain, localhost

### 追加 ###
tls_server_sni_maps=hash:/etc/postfix/tls_server_sni_maps
virtual_transport = virtual
virtual_mailbox_domains = /etc/postfix/virtual_mailbox_domains
virtual_mailbox_maps = hash:/etc/postfix/virtual_mailbox_maps
virtual_mailbox_base = /var/spool/virtual
virtual_alias_maps = hash:/etc/postfix/virtual_aliases
virtual_uid_maps = static:10000
virtual_gid_maps = static:10000
関係ファイル
tls_server_sni_maps
$ sudo vi /etc/postfix/tls_server_sni_maps


jisaba.life /etc/letsencrypt/live/mail.jisaba.life/privkey.pem /etc/letsencrypt/live/mail.jisaba.life/fullchain.pem
example.com /etc/letsencrypt/live/mail.example.com/privkey.pem /etc/letsencrypt/live/mail.example.com/fullchain.pem
db 化。
$ sudo postmap -F /etc/postfix/tls_server_sni_mapsvirtual_mailbox_domains
$ sudo vi /etc/postfix/virtual_mailbox_domains


jisaba.life
example.com
virtual_mailbox_maps
メールアカウントとメールボックスをマッピング。
$ sudo vi /etc/postfix/virtual_mailbox_maps


support@jisaba.life	  jisaba.life/support/Maildir/
support@example.com   example.com/support/Maildir/
info@example.com      example.com/info/Maildir/
db 化。
sudo postmap /etc/postfix/virtual_mailbox_mapsvirtual_aliases
右側には外部のメールアドレス(Gmail など)の設定も可能。
$ sudo vi /etc/postfix/virtual_aliases


support@jisaba.life	support@jisaba.life
info@example.com		info@example.com
db 化。
sudo postmap /etc/postfix/virtual_aliasesPostfix を再起動して /var/log/mail.log にエラーメッセージがないことを確認。
Dovecot 設定ファイルの修正
10-auth.conf
sudo vi /etc/dovecot/conf.d/10-auth.conf


auth_mechanisms = plain login
!include auth-system.conf.ext
#!include auth-sql.conf.ext
#!include auth-ldap.conf.ext
!include auth-passwdfile.conf.ext
#!include auth-checkpassword.conf.ext
#!include auth-vpopmail.conf.ext
!include auth-static.conf.ext
auth-passwdfile.conf.ext
scheme の変更。
sudo vi /etc/dovecot/conf.d/auth-passwdfile.conf.ext


passdb {
  driver = passwd-file
  args = scheme=CRAM-MD5 username_format=%u /etc/dovecot/users
}
doveadm でユーザーの暗号化パスワードを作成。
$ sudo doveadm pw
Enter new password:
Retype new password:
{CRYPT}$2y$05$./W9lSrjDYOMwqI9cCCkUe99Ym9PKjN2SoyjIQTjGrQZUfB3h/aaA
作成したパスワードをファイルに記述。
$ sudo vi /etc/dovecot/users


suppport@jisaba.life:{CRYPT}$2y$05$./W9lSrjDYOMwqI9cCCkUe99Ym9PKjN2SoyjIQTjGrQZUfB3h/aaA
support@example.com:{CRYPT}$2y$05$8nYUkYsRCtkCbXUrlDCEG.N9iY3Y6iaUNGZZ/O99y.3lqcjt/NOxu
auth-static.conf.ext
コメント行を編集(args = のところ)して有効化。
$ sudo vi /etc/dovecot/conf.d/auth-static.conf.ext


userdb {
  driver = static
  args = uid=vmail gid=vmail home=/var/spool/virtual/%d/%n
}
10-ssl.conf
SNI 対応として追加。
ssl_cert = </etc/letsencrypt/live/mail.jisaba.life/fullchain.pem
ssl_key = </etc/letsencrypt/live/mail.jisaba.life/privkey.pem

### 以下を追加 ###
local_name mail.jisaba.life {
    ssl_cert = </etc/letsencrypt/live/mail.jisaba.life/fullchain.pem
    ssl_key = </etc/letsencrypt/live/mail.jisaba.life/privkey.pem
}

local_name mail.example.com {
    ssl_cert = </etc/letsencrypt/live/mail.example.com/fullchain.pem
    ssl_key = </etc/letsencrypt/live/mail.example.com/privkey.pem
}
15-mailboxes.conf
自分の環境だと、Thunderbird でアカウントを追加した直後に「送信済みトレイ」がなかった。
以下のファイルを編集して auto = subscribe と追加、systemctl restart dovecot.service とすれば Thunderbird を再起動すると出てくる。以下の例では mailbox Sent に追加している。
##
## Mailbox definitions
##

# Each mailbox is specified in a separate mailbox section. The section name
# specifies the mailbox name. If it has spaces, you can put the name
# "in quotes". These sections can contain the following mailbox settings:
#
# auto:
#   Indicates whether the mailbox with this name is automatically created
#   implicitly when it is first accessed. The user can also be automatically
#   subscribed to the mailbox after creation. The following values are
#   defined for this setting:
#
#     no        - Never created automatically.
#     create    - Automatically created, but no automatic subscription.
#     subscribe - Automatically created and subscribed.
#
# special_use:
#   A space-separated list of SPECIAL-USE flags (RFC 6154) to use for the
#   mailbox. There are no validity checks, so you could specify anything
#   you want in here, but it's not a good idea to use flags other than the
#   standard ones specified in the RFC:
#
#     \All       - This (virtual) mailbox presents all messages in the
#                  user's message store.
#     \Archive   - This mailbox is used to archive messages.
#     \Drafts    - This mailbox is used to hold draft messages.
#     \Flagged   - This (virtual) mailbox presents all messages in the
#                  user's message store marked with the IMAP \Flagged flag.
#     \Important - This (virtual) mailbox presents all messages in the
#                  user's message store deemed important to user.
#     \Junk      - This mailbox is where messages deemed to be junk mail
#                  are held.
#     \Sent      - This mailbox is used to hold copies of messages that
#                  have been sent.
#     \Trash     - This mailbox is used to hold messages that have been
#                  deleted.
#
# comment:
#   Defines a default comment or note associated with the mailbox. This
#   value is accessible through the IMAP METADATA mailbox entries
#   "/shared/comment" and "/private/comment". Users with sufficient
#   privileges can override the default value for entries with a custom
#   value.

# NOTE: Assumes "namespace inbox" has been defined in 10-mail.conf.
namespace inbox {
  # These mailboxes are widely used and could perhaps be created automatically:
  mailbox Drafts {
    special_use = \Drafts
  }
  mailbox Junk {
    special_use = \Junk
  }
  mailbox Trash {
    special_use = \Trash
  }

  # For \Sent mailboxes there are two widely used names. We'll mark both of
  # them as \Sent. User typically deletes one of them if duplicates are created.
  mailbox Sent {
    special_use = \Sent
    auto = subscribe
  }
  mailbox "Sent Messages" {
    special_use = \Sent
  }

  # If you have a virtual "All messages" mailbox:
  #mailbox virtual/All {
  #  special_use = \All
  #  comment = All my messages
  #}

  # If you have a virtual "Flagged" mailbox:
  #mailbox virtual/Flagged {
  #  special_use = \Flagged
  #  comment = All my flagged messages
  #}

  # If you have a virtual "Important" mailbox:
  #mailbox virtual/Important {
  #  special_use = \Important
  #  comment = All my important messages
  #}
}
メールクライアントの設定(Thunderbird の場合)
最初のアカウントの受信サーバー、送信サーバーは以下のとおり。
2つ���のアカウント(support@example.com)の送信サーバーは、デフォルトの証明書(mail.jisaba.life)を使用してしまうため mail.jisaba.life に変更した。Gmail でも @nifty でも、確実に送信できる SMTP サーバーであれば良いと思う。
iPhone も基本的に同様の設定で、送信サーバーだけ既存の SMTP サーバーを選択する。
- 名前 : お好みで。
- メールアドレス : 例では support@jisaba.life を入力。
- パスワード : sudo doveadm pw で作ったパスワード。
- 受信サーバー
- プロトコル : IMAP
- ポート番号 : 993
- 接続の保護 : SSL/TLS
- 認証方式 : 暗号化されたパスワード認証
- ユーザー名 : support@jisaba.life
- 送信サーバー
- ホスト名 : mail.jisaba.life
- ポート番号 : 587
- 接続の種類 : STARTTLS
- 認証方式 : 暗号化されたパスワード認証
- ユーザー名 : support@jisaba.life
最後に
思ったより長いページになってしまったけど、1つの port 993 で複数ドメインに IMAP 接続できるようになった。
メールサーバーは普通に動作している限り設定変更することはあまりないから、メモを残しておかないと後々困りそう。
送信メールのなりすまし対策として SPF 以外にも DKIM や DMARC の導入が進んでいるらしいから、おいおい調べてみようかな。
自鯖環境だと限られた数のメールアカウントだから大したこと無いけれど、業務用で多くのアカウントが必要なら PostfixAdmin とかで管理するほうが良さそうだね。


コメント