


目標は、前から気になっていた kubernetes をインストールして Minecraft Server を設置するところまで。
アプリを開発しているわけじゃないし、実際のところ Proxmox の仮想マシンやシステムコンテナで間に合っている。自鯖としての使いどころは無さそうな気もするけど、Web の情報も充実してきたから興味本位ということでやってみた。
構成は Master Node が1台、Worker Node が3台で始めてみる。全部 VM で、あとから様子を見て Master Node を追加することにする。
もし Master Node が壊れたら、とりあえずバックアップから復元すればいいや。
仮想マシン Ubuntu Server 22.04 の作成・設定(すべてのノード)
Ubuntu のインストール手順は割愛。
公式サイト(kubernetes 1.28)の手順どおり kubernetes をインストールする。
VM は次��とおり計4台。
| 種類 | Master Node | Woker Node | Worker Node | Worker Node |
| ホスト名 | k8s-node1 | k8s-node4 | k8s-node5 | k8s-node6 |
| IP address | 10.1.1.3/16 | 10.1.1.6/16 | 10.1.1.7/16 | 10.1.1.8/16 |
| strage | 32G(ceph) | 32G(local) | 32G(local) | 32G(local) |
| memory | 4G | 8G | 8G | 8G |
Master Node のストレージは ceph。ホストの PVE に障害が生じたらライブマイグレーションで他のホストに引っ越しできる。
Woker Node のストレージはホストの local。ほとんど使っていないから空き領域は十分にある。
kubernetes の永続ボリュームには、Master Node に 適当な容量のストレージ(ceph より)を追加して、NFS Server をたてることにする。
カーネルモジュールの設定
cat <<EOF | sudo tee /etc/modules-load.d/k8s.conf
overlay
br_netfilter
EOF

sudo modprobe overlay
sudo modprobe br_netfilter

cat <<EOF | sudo tee /etc/sysctl.d/k8s.conf
net.bridge.bridge-nf-call-iptables  = 1
net.bridge.bridge-nf-call-ip6tables = 1
net.ipv4.ip_forward                 = 1
EOF

sudo sysctl --system
確認。
lsmod | grep br_netfilter
br_netfilter           32768  0
bridge                409600  1 br_netfilter

lsmod | grep overlay
overlay               188416  0

sysctl net.bridge.bridge-nf-call-iptables net.bridge.bridge-nf-call-ip6tables net.ipv4.ip_forward
net.bridge.bridge-nf-call-iptables = 1
net.bridge.bridge-nf-call-ip6tables = 1
net.ipv4.ip_forward = 1
swap の無効化
オンプレミス(自鯖)で潤沢なメモリを確保できないから、多少のリスクを伴うことを承知で次のドキュメントを参考に swap を有効にしてみたけど、kubeadm init でエラーが出てインストールできなかった。
なお、swap を無効化して kubernetes のインストールを終えたあとからでも有効化は可能みたいだけど試してない。
swap は cgroup v2 でのみサポートされており、cgroup v1 はサポートされていません。

cgroup のバージョンを確認するには次のコマンドを実行して、
stat -fc %T /sys/fs/cgroup/cgroup v2 の場合、出力は cgroup2fs 。
cgroup v1 の場合、出力は tmpfs 。
コマンドは次のとおり。
※一時的に無効化
swapoff -a

※続いて永続的に無効化
vi /etc/fstab

次の行をコメントアウト
# /swap.img     none    swap    sw      0       0

※再マウント
sudo mount -a
/etc/hosts の編集
各ノードで名前解決できるように編集する。
こんな感じ。
127.0.0.1 localhost
127.0.1.1 k8s-node1

# The following lines are desirable for IPv6 capable hosts
::1     ip6-localhost ip6-loopback
fe00::0 ip6-localnet
ff00::0 ip6-mcastprefix
ff02::1 ip6-allnodes
ff02::2 ip6-allrouters

# 以下を追記
10.1.1.3 k8s-node1
10.1.1.6 k8s-node4
10.1.1.7 k8s-node5
10.1.1.8 k8s-node6
コンテナランタイム(CRI-O)のインストール
CRI(Container Runtime Interface)には containerd と CRI-O のどちらにしようかと少考して、今まで Docker を使ってた訳じゃないしということで、CRI-O をインストールすることにした。
手順はこちらのとおり。kubernetes のバージョンは 1.28。
以下は sudo su で実行する。
sudo su

export VERSION=1.28
export OS=xUbuntu_22.04

echo "deb [signed-by=/usr/share/keyrings/libcontainers-archive-keyring.gpg] https://download.opensuse.org/repositories/devel:/kubic:/libcontainers:/stable/$OS/ /" > /etc/apt/sources.list.d/devel:kubic:libcontainers:stable.list
echo "deb [signed-by=/usr/share/keyrings/libcontainers-crio-archive-keyring.gpg] https://download.opensuse.org/repositories/devel:/kubic:/libcontainers:/stable:/cri-o:/$VERSION/$OS/ /" > /etc/apt/sources.list.d/devel:kubic:libcontainers:stable:cri-o:$VERSION.list

mkdir -p /usr/share/keyrings
curl -L https://download.opensuse.org/repositories/devel:/kubic:/libcontainers:/stable/$OS/Release.key | gpg --dearmor -o /usr/share/keyrings/libcontainers-archive-keyring.gpg
curl -L https://download.opensuse.org/repositories/devel:/kubic:/libcontainers:/stable:/cri-o:/$VERSION/$OS/Release.key | gpg --dearmor -o /usr/share/keyrings/libcontainers-crio-archive-keyring.gpg

apt-get update
apt-get install cri-o cri-o-runc

systemctl daemon-reload
systemctl start crio
systemctl enable crio
ここで root から user に戻る(続けてもいいけど)。
kubeadm、kubelet、kubectl のインストール
1.28 用のドキュメントはこちら。
必要なパッケージをインストールする。
sudo apt-get update
sudo apt-get install -y apt-transport-https ca-certificates curl gpg
公開鍵をダウンロードする。
curl -fsSL https://pkgs.k8s.io/core:/stable:/v1.28/deb/Release.key | sudo gpg --dearmor -o /etc/apt/keyrings/kubernetes-apt-keyring.gpgリポジトリを追加する。
echo 'deb [signed-by=/etc/apt/keyrings/kubernetes-apt-keyring.gpg] https://pkgs.k8s.io/core:/stable:/v1.28/deb/ /' | sudo tee /etc/apt/sources.list.d/kubernetes.listkubeadm、kubelet、kubectl をインストールする。
sudo apt-get update
sudo apt-get install -y kubelet kubeadm kubectl

# バージョンを固定するため、パッケージが更新されないようにする。
sudo apt-mark hold kubelet kubeadm kubectl
コマンド crictl が使用できるから確認してみる。無事に CRI-O がコンテナランタイムとして認識されているようだ。
sudo crictl info

{
  "status": {
    "conditions": [
      {
        "type": "RuntimeReady",
        "status": true,
        "reason": "",
        "message": ""
      },
      {
        "type": "NetworkReady",
        "status": true,
        "reason": "",
        "message": ""
      }
    ]
  },
  "config": {
    "sandboxImage": "registry.k8s.io/pause:3.9"
  }
}
ここまでは Master Node も Worker Node も同じ。
Worker Node 用の VM を作る
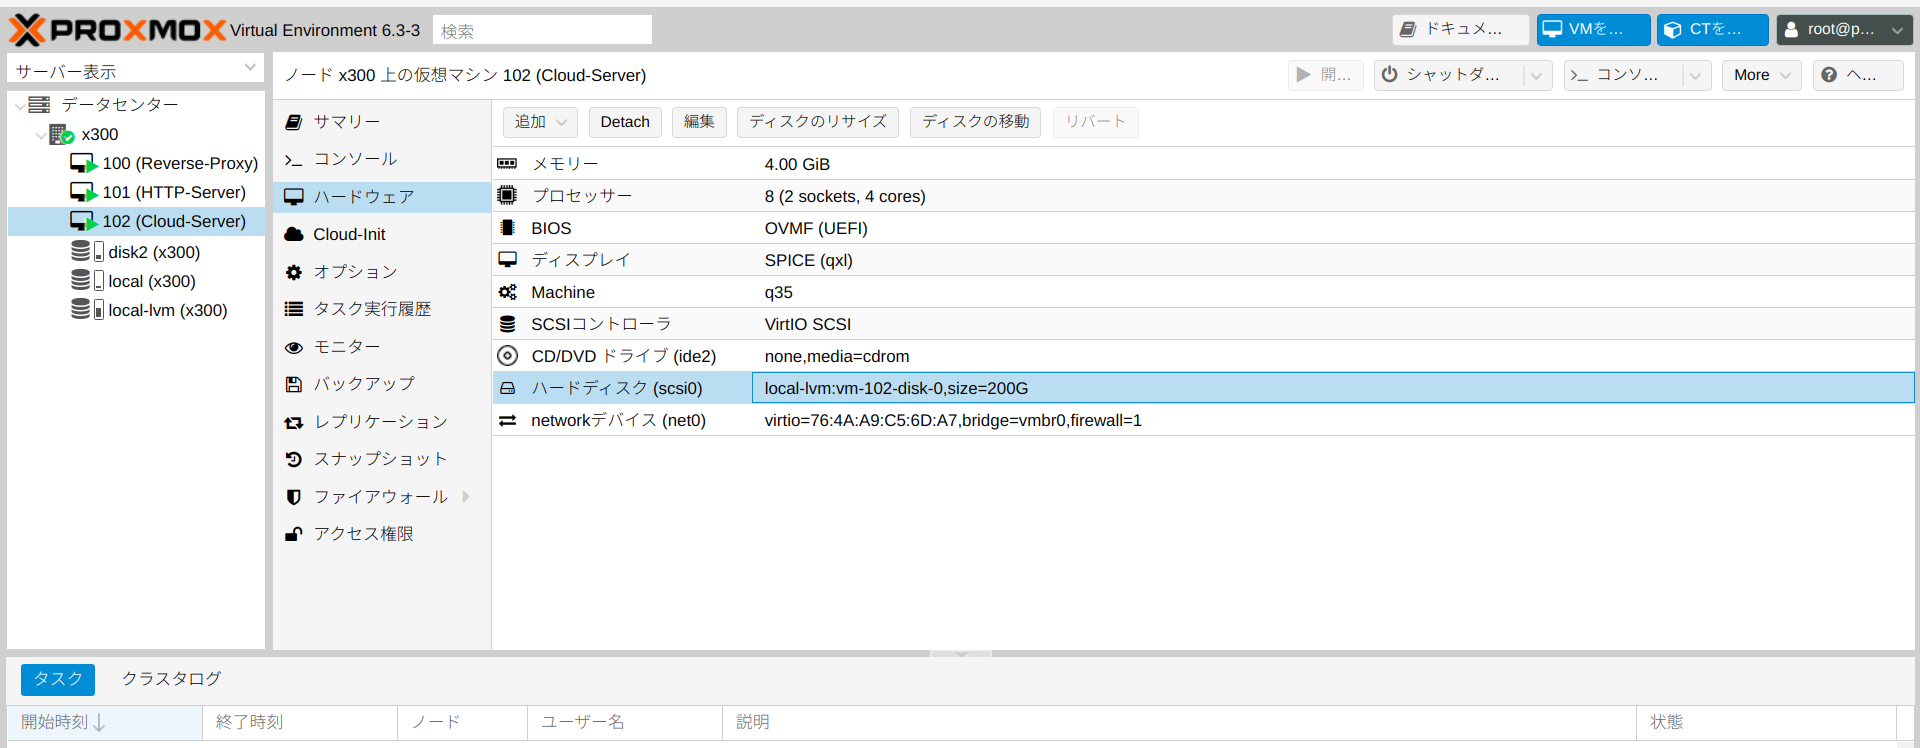
Master Node の VM のクローンで Worker Node を作る。ただし、自鯖の都合によりストレージは local に変更する。ライブマイグレーションができないという意味では物理マシンに近い構成(停止中ならマイグレーション可能)。
あと、ホスト名と ip アドレスの変更を忘れないように。
以降は Master Node と Worker Node で別々の設定していく。
Master Node の設定
まずはコントロールプレーンを初期化する。
sudo kubeadm init --control-plane-endpoint 10.1.1.3 --pod-network-cidr=10.244.0.0/16公式ドキュメントによると「--control-plane-endpointを渡さずに構築したシングルコントロールプレーンのクラスターを高可用性クラスターに切り替えることはサポートされていません。」となっているので、後々 Worker Node を追加する予定があるならオプションありで実行するほうが無難。
--pod-network-cidr=10.244.0.0/16 を追加しているのは、このあと CNI として Flannel をインストールするため。
kubeadm init の実行結果は次のとおり。
無事 Your Kubernetes control-plane has initialized successfully! となっている。
��いから折りたたむ。
kubeadm init 実行結果
[init] Using Kubernetes version: v1.28.3
[preflight] Running pre-flight checks
[preflight] Pulling images required for setting up a Kubernetes cluster
[preflight] This might take a minute or two, depending on the speed of your internet connection
[preflight] You can also perform this action in beforehand using 'kubeadm config images pull'
[certs] Using certificateDir folder "/etc/kubernetes/pki"
[certs] Generating "ca" certificate and key
[certs] Generating "apiserver" certificate and key
[certs] apiserver serving cert is signed for DNS names [k8s-node1 kubernetes kubernetes.default kubernetes.default.svc kubernetes.default.svc.cluster.local] and IPs [10.96.0.1 10.1.1.3]
[certs] Generating "apiserver-kubelet-client" certificate and key
[certs] Generating "front-proxy-ca" certificate and key
[certs] Generating "front-proxy-client" certificate and key
[certs] Generating "etcd/ca" certificate and key
[certs] Generating "etcd/server" certificate and key
[certs] etcd/server serving cert is signed for DNS names [k8s-node1 localhost] and IPs [10.1.1.3 127.0.0.1 ::1]
[certs] Generating "etcd/peer" certificate and key
[certs] etcd/peer serving cert is signed for DNS names [k8s-node1 localhost] and IPs [10.1.1.3 127.0.0.1 ::1]
[certs] Generating "etcd/healthcheck-client" certificate and key
[certs] Generating "apiserver-etcd-client" certificate and key
[certs] Generating "sa" key and public key
[kubeconfig] Using kubeconfig folder "/etc/kubernetes"
[kubeconfig] Writing "admin.conf" kubeconfig file
[kubeconfig] Writing "kubelet.conf" kubeconfig file
[kubeconfig] Writing "controller-manager.conf" kubeconfig file
[kubeconfig] Writing "scheduler.conf" kubeconfig file
[etcd] Creating static Pod manifest for local etcd in "/etc/kubernetes/manifests"
[control-plane] Using manifest folder "/etc/kubernetes/manifests"
[control-plane] Creating static Pod manifest for "kube-apiserver"
[control-plane] Creating static Pod manifest for "kube-controller-manager"
[control-plane] Creating static Pod manifest for "kube-scheduler"
[kubelet-start] Writing kubelet environment file with flags to file "/var/lib/kubelet/kubeadm-flags.env"
[kubelet-start] Writing kubelet configuration to file "/var/lib/kubelet/config.yaml"
[kubelet-start] Starting the kubelet
[wait-control-plane] Waiting for the kubelet to boot up the control plane as static Pods from directory "/etc/kubernetes/manifests". This can take up to 4m0s
[apiclient] All control plane components are healthy after 8.422280 seconds
[upload-config] Storing the configuration used in ConfigMap "kubeadm-config" in the "kube-system" Namespace
[kubelet] Creating a ConfigMap "kubelet-config" in namespace kube-system with the configuration for the kubelets in the cluster
[upload-certs] Skipping phase. Please see --upload-certs
[mark-control-plane] Marking the node k8s-node1 as control-plane by adding the labels: [node-role.kubernetes.io/control-plane node.kubernetes.io/exclude-from-external-load-balancers]
[mark-control-plane] Marking the node k8s-node1 as control-plane by adding the taints [node-role.kubernetes.io/control-plane:NoSchedule]
[bootstrap-token] Using token: m7fy32.193g8woilczavy8f
[bootstrap-token] Configuring bootstrap tokens, cluster-info ConfigMap, RBAC Roles
[bootstrap-token] Configured RBAC rules to allow Node Bootstrap tokens to get nodes
[bootstrap-token] Configured RBAC rules to allow Node Bootstrap tokens to post CSRs in order for nodes to get long term certificate credentials
[bootstrap-token] Configured RBAC rules to allow the csrapprover controller automatically approve CSRs from a Node Bootstrap Token
[bootstrap-token] Configured RBAC rules to allow certificate rotation for all node client certificates in the cluster
[bootstrap-token] Creating the "cluster-info" ConfigMap in the "kube-public" namespace
[kubelet-finalize] Updating "/etc/kubernetes/kubelet.conf" to point to a rotatable kubelet client certificate and key
[addons] Applied essential addon: CoreDNS
[addons] Applied essential addon: kube-proxy

Your Kubernetes control-plane has initialized successfully!

To start using your cluster, you need to run the following as a regular user:

  mkdir -p $HOME/.kube
  sudo cp -i /etc/kubernetes/admin.conf $HOME/.kube/config
  sudo chown $(id -u):$(id -g) $HOME/.kube/config

Alternatively, if you are the root user, you can run:

  export KUBECONFIG=/etc/kubernetes/admin.conf

You should now deploy a pod network to the cluster.
Run "kubectl apply -f [podnetwork].yaml" with one of the options listed at:
  https://kubernetes.io/docs/concepts/cluster-administration/addons/

You can now join any number of control-plane nodes by copying certificate authorities
and service account keys on each node and then running the following as root:

  kubeadm join 10.1.1.3:6443 --token upnaaa.pk・・・・・25 \
	--discovery-token-ca-cert-hash sha256:e1・・・・・00 \
	--control-plane

Then you can join any number of worker nodes by running the following on each as root:

kubeadm join 10.1.1.3:6443 --token upnaaa.pk・・・・・25 \
	--discovery-token-ca-cert-hash sha256:e1・・・・・00
最後のほうの join の2つはどこかに控えておくこと。
kubeadm init を最初からやり直すときは kubeadm reset と CNI 関係ファイルの削除(rm -rf /etc/cni/net.d/*)を実行しておくこと。
The reset process does not clean CNI configuration. To do so, you must remove /etc/cni/net.d

The reset process does not reset or clean up iptables rules or IPVS tables.
If you wish to reset iptables, you must do so manually by using the "iptables" command.

If your cluster was setup to utilize IPVS, run ipvsadm --clear (or similar)
to reset your system's IPVS tables.

The reset process does not clean your kubeconfig files and you must remove them manually.
Please, check the contents of the $HOME/.kube/config file.
クラスター操作のための設定(コントロールプレーンの全て)
一般ユーザーで kubeadm init 実行時のメッセージに従って次のコマンドを実行する。今回の構成だとコントロールプレーンは k8s-node1 のみ。新たにコントロールプレーンとしてノードを追加したときは同様に実行する。
mkdir -p $HOME/.kube
sudo cp -i /etc/kubernetes/admin.conf $HOME/.kube/config
sudo chown $(id -u):$(id -g) $HOME/.kube/config
CNI のインストール
Flannel 、Calico、Cilium などなど、多くの CNI があって何をどうやって選択すれば良いのか悩んだ。

今更かもしれないけど、まずは Flannel をデプロイしてみる。
コマンドはつぎのとおり。
kubectl apply -f https://github.com/flannel-io/flannel/releases/latest/download/kube-flannel.yml確認。
kubectl get pod -A
NAMESPACE      NAME                                READY   STATUS             RESTARTS        AGE
kube-flannel   kube-flannel-ds-dj2v8               0/1     CrashLoopBackOff   19 (71s ago)    73m
kube-flannel   kube-flannel-ds-dml9k               0/1     CrashLoopBackOff   19 (111s ago)   74m
kube-flannel   kube-flannel-ds-j9kdr               0/1     CrashLoopBackOff   19 (50s ago)    73m
kube-flannel   kube-flannel-ds-rz778               1/1     Running            0               78m
kube-system    coredns-5dd5756b68-6ggxp            1/1     Running            0               85m
kube-system    coredns-5dd5756b68-qv9zs            1/1     Running            0               85m
kube-system    etcd-k8s-node1                      1/1     Running            1               85m
kube-system    kube-apiserver-k8s-node1            1/1     Running            0               85m
kube-system    kube-controller-manager-k8s-node1   1/1     Running            0               85m
kube-system    kube-proxy-7dxtx                    1/1     Running            0               74m
kube-system    kube-proxy-h4x97                    1/1     Running            0               73m
kube-system    kube-proxy-rxswk                    1/1     Running            0               73m
kube-system    kube-proxy-x9kz7                    1/1     Running            0               85m
kube-system    kube-scheduler-k8s-node1            1/1     Running            0               85m
Worker Node をクラスターに参加させる
控えておいた token を、クラスターに参加させたい Worker Node で実行する。
sudo kubeadm join 10.1.1.3:6443 --token upnaaa.pk・・・・・25 --discovery-token-ca-cert-hash sha256:e1・・・・・00

[preflight] Running pre-flight checks
[preflight] Reading configuration from the cluster...
[preflight] FYI: You can look at this config file with 'kubectl -n kube-system get cm kubeadm-config -o yaml'
[kubelet-start] Writing kubelet configuration to file "/var/lib/kubelet/config.yaml"
[kubelet-start] Writing kubelet environment file with flags to file "/var/lib/kubelet/kubeadm-flags.env"
[kubelet-start] Starting the kubelet
[kubelet-start] Waiting for the kubelet to perform the TLS Bootstrap...

This node has joined the cluster:
* Certificate signing request was sent to apiserver and a response was received.
* The Kubelet was informed of the new secure connection details.

Run 'kubectl get nodes' on the control-plane to see this node join the cluster.
Master Node で確認してみる。
kubectl get nodes

NAME        STATUS   ROLES           AGE   VERSION
k8s-node1   Ready    control-plane   43m    v1.28.3
k8s-node4   Ready    <none>          20m    v1.28.3
k8s-node5   Ready    <none>          2m8s   v1.28.3
k8s-node6   Ready    <none>          61s    v1.28.3
残りの Worker Node も同様に実行して無事に参加できた。
うまくいかなかったら原因を探してみて、Worker Node で kubeadm init を実行してから再度 join してみる。
Worker Node を追加するときの token は上(control-plane nodes)の join のところ。
次回に向けて
これでとりあえず kubernetes 環境構築はできた。
$ kubectl get all -A
NAMESPACE      NAME                                    READY   STATUS    RESTARTS   AGE
kube-flannel   pod/kube-flannel-ds-gz2hk               1/1     Running   0          97s
kube-flannel   pod/kube-flannel-ds-hg2jv               1/1     Running   0          22s
kube-flannel   pod/kube-flannel-ds-pcv8v               1/1     Running   0          46s
kube-flannel   pod/kube-flannel-ds-vb5gr               1/1     Running   1          24m
kube-system    pod/coredns-5dd5756b68-67dvx            1/1     Running   1          30m
kube-system    pod/coredns-5dd5756b68-qtd4k            1/1     Running   1          30m
kube-system    pod/etcd-k8s-node1                      1/1     Running   6          30m
kube-system    pod/kube-apiserver-k8s-node1            1/1     Running   5          30m
kube-system    pod/kube-controller-manager-k8s-node1   1/1     Running   11         30m
kube-system    pod/kube-proxy-2vhl6                    1/1     Running   0          97s
kube-system    pod/kube-proxy-ddnxk                    1/1     Running   1          30m
kube-system    pod/kube-proxy-fjmft                    1/1     Running   0          22s
kube-system    pod/kube-proxy-w2x8c                    1/1     Running   0          46s
kube-system    pod/kube-scheduler-k8s-node1            1/1     Running   11         30m

NAMESPACE     NAME                 TYPE        CLUSTER-IP   EXTERNAL-IP   PORT(S)                  AGE
default       service/kubernetes   ClusterIP   10.96.0.1    <none>        443/TCP                  30m
kube-system   service/kube-dns     ClusterIP   10.96.0.10   <none>        53/UDP,53/TCP,9153/TCP   30m

NAMESPACE      NAME                             DESIRED   CURRENT   READY   UP-TO-DATE   AVAILABLE   NODE SELECTOR            AGE
kube-flannel   daemonset.apps/kube-flannel-ds   4         4         4       4            4           <none>                   24m
kube-system    daemonset.apps/kube-proxy        4         4         4       4            4           kubernetes.io/os=linux   30m

NAMESPACE     NAME                      READY   UP-TO-DATE   AVAILABLE   AGE
kube-system   deployment.apps/coredns   2/2     2            2           30m

NAMESPACE     NAME                                 DESIRED   CURRENT   READY   AGE
kube-system   replicaset.apps/coredns-5dd5756b68   2         2         2       30m
Minecraft Server のデプロイまで、道程はまだまだ長い。
コメント